Category: Uncategorised
-
VFX Fundamentals_Overview PPT
I felt that the bottom-to-top preview layout of the blog might cause viewers to see the final results before the concept design, which creates a reversed viewing experience.
So I made a simple PPT to make the preview more convenient. The project details and written content are still in the blog. -
Nuke Compositing and Video Editing
I imported all the rendered passes into Nuke and obtained the following result.
Then I performed node-based adjustments and compositing, integrating all the passes together to achieve a complete visual result.
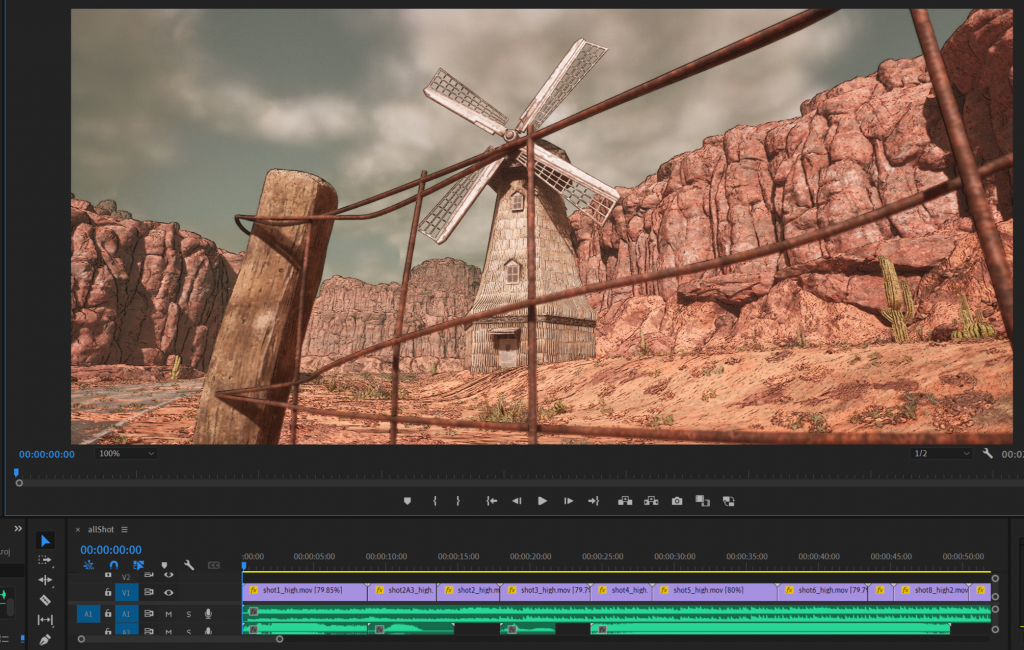
I exported the image sequence from Nuke, then assembled the video in Premiere Pro. I searched online for tire sound effects and suitable background music, and finally produced the finishe.
Problems
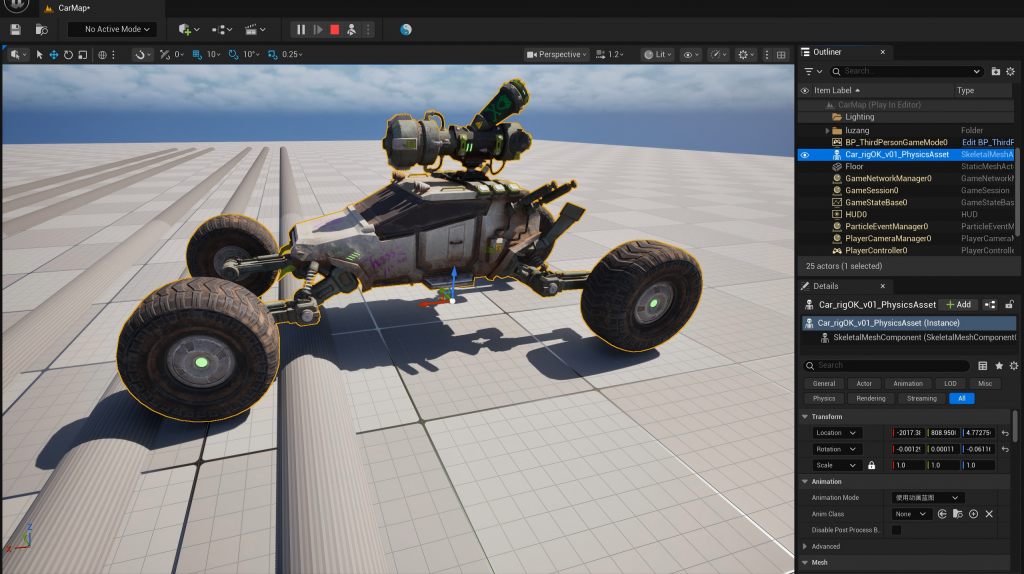
This was my first time rigging a car model and creating a vehicle suspension system in Unreal Engine, which caused me to encounter many issues. Since online tutorials often did not match my specific model, I had to spend extra time finding solutions.
For example, incorrect model constraints caused the tires and the car body to separate; in simulation the wheels were moving, but in the final render they stopped rotating.In the end, I solved many of these problems. Although I achieved a usable result, I believe the vehicle simulation could still be made more dynamic and lifelike. In the future, I hope to continue researching and improving it.
Conclusion
Overall, I achieved my expectations for this project and completed a full wasteland-style vehicle animation short film. During the production process, I learned a great deal of new knowledge, such as cinematic camera movement for vehicles, skeletal rigging for models, and more detailed material handling.
In the future, I hope to apply these experiences to other projects and continue exploring ways to enhance realism and expressiveness in vehicle simulation. -
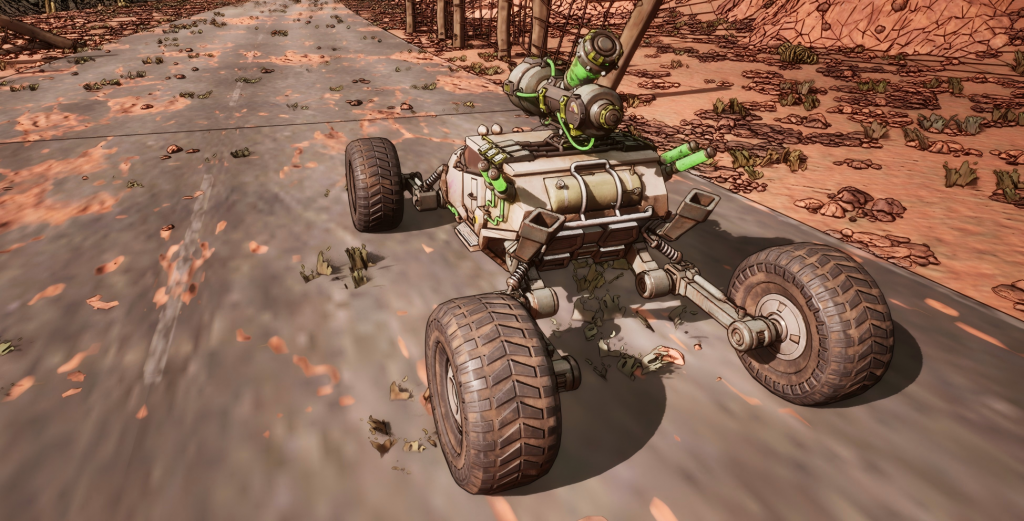
Vehicle Animation and UE5 Render Layers
In the Unreal Engine Level Sequence, I bound the car model to a camera rail that I created. By driving the current position value on the rail from 0 to 1, I assigned a driving animation to the car.
In addition, to achieve better camera movement, I referenced shots from Mad Max films as well as car commercials and other videos. I then keyframed each camera. Some cameras were equipped with camera rigs/cranes to create follow shots, but I still needed to manually keyframe the left–right and up–down camera movements.
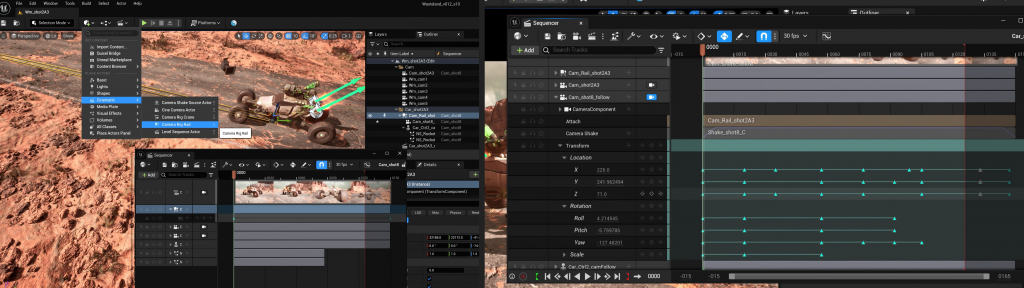
In total, I created 11 shots and keyframed the camera movement animation for all 11 shots.
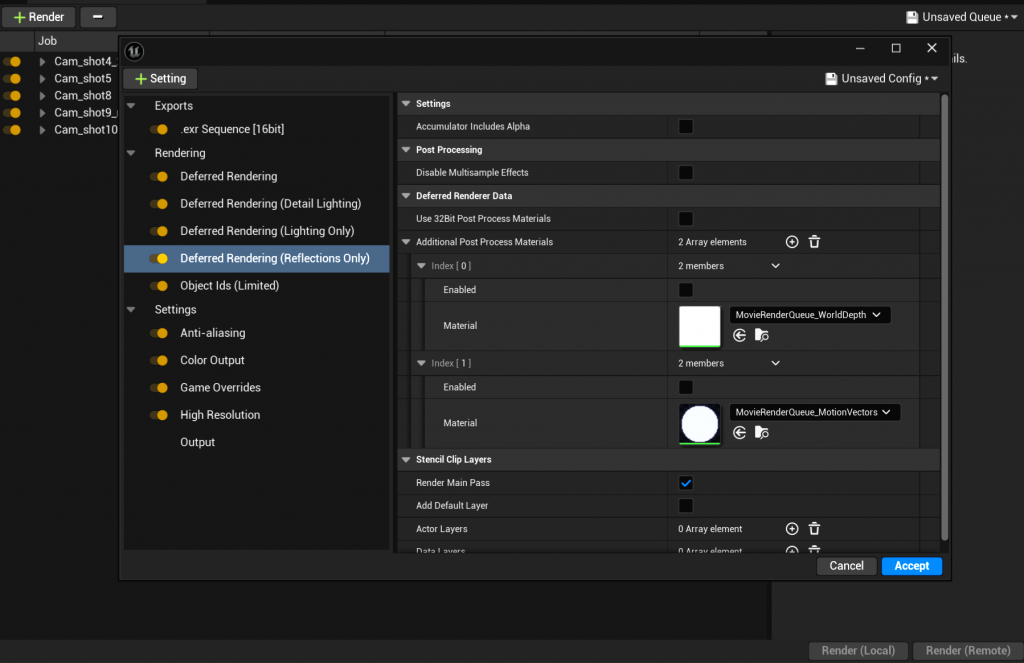
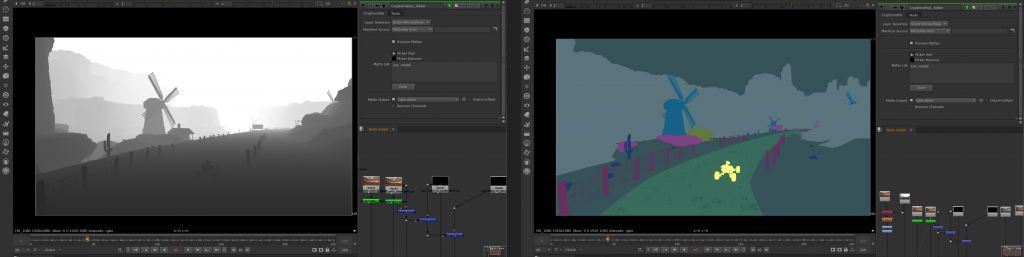
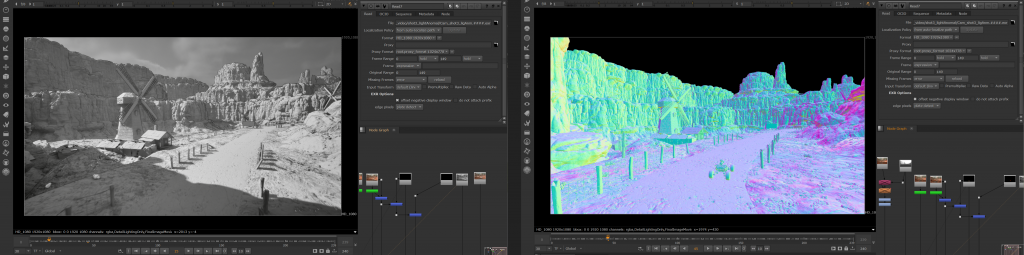
After completing the Level Sequence, I rendered it out. I needed multiple render passes such as ID passes, depth passes, lighting passes, effects passes, and so on. Therefore, I selected the corresponding options in the render settings and finally exported the results in EXR format to facilitate compositing in Nuke.
-
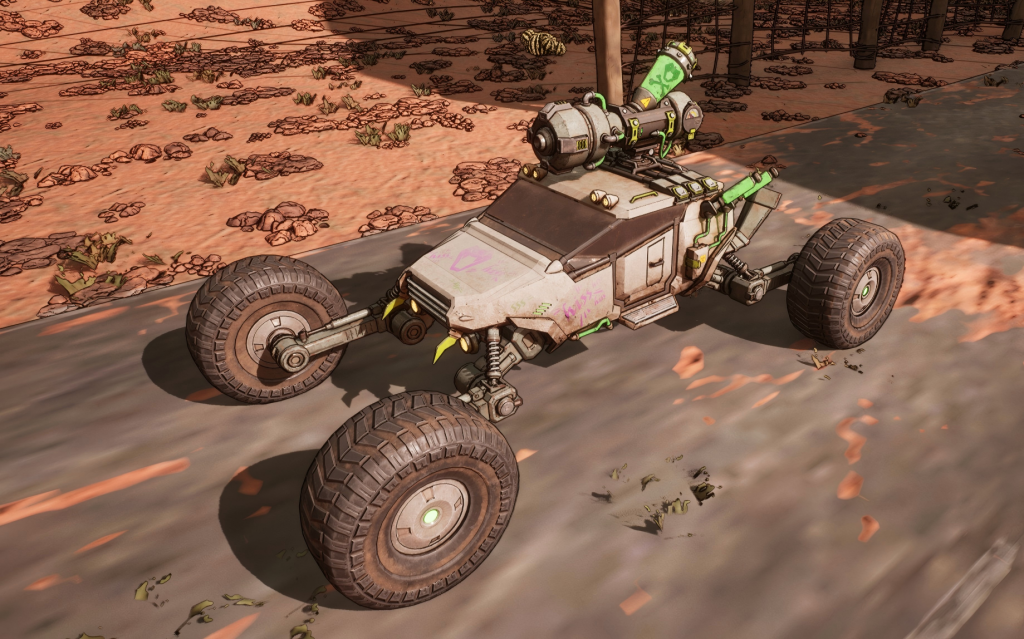
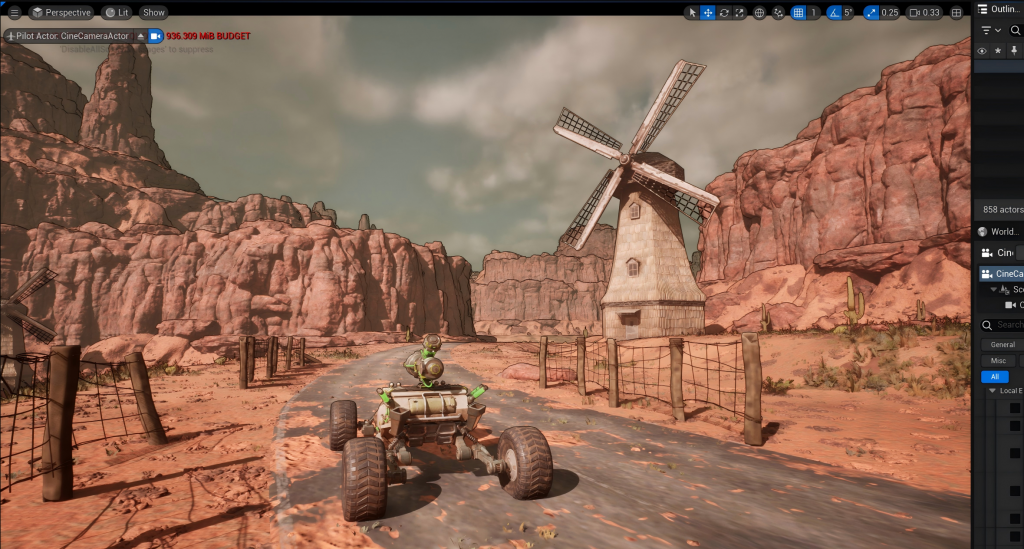
FinalProject_Stylization and UE5 Scene
I referenced the stylized visual effects of Borderlands 3 and tried to create a line-based material in UE5, then applied it in a Post Process Volume and enabled Infinite Extent so that all objects are affected.
Reference image
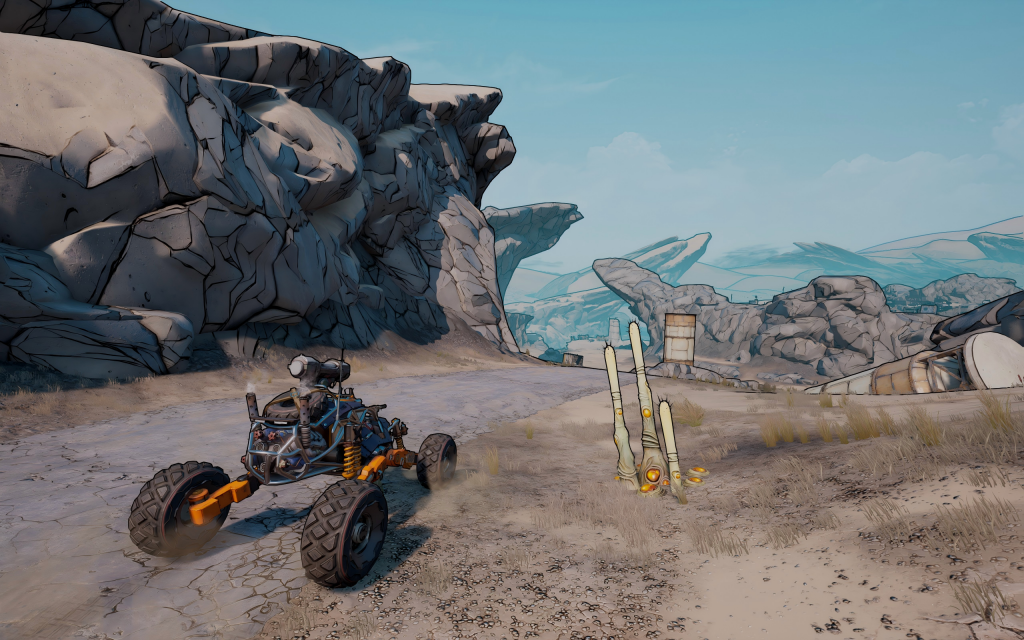
My attempt in Unreal Engine 5
Unreal Engine 5_Scene
I downloaded rock, road sign, and mountain models from the internet and combined them with my windmill, assembling them into a cohesive and harmonious scene.

-
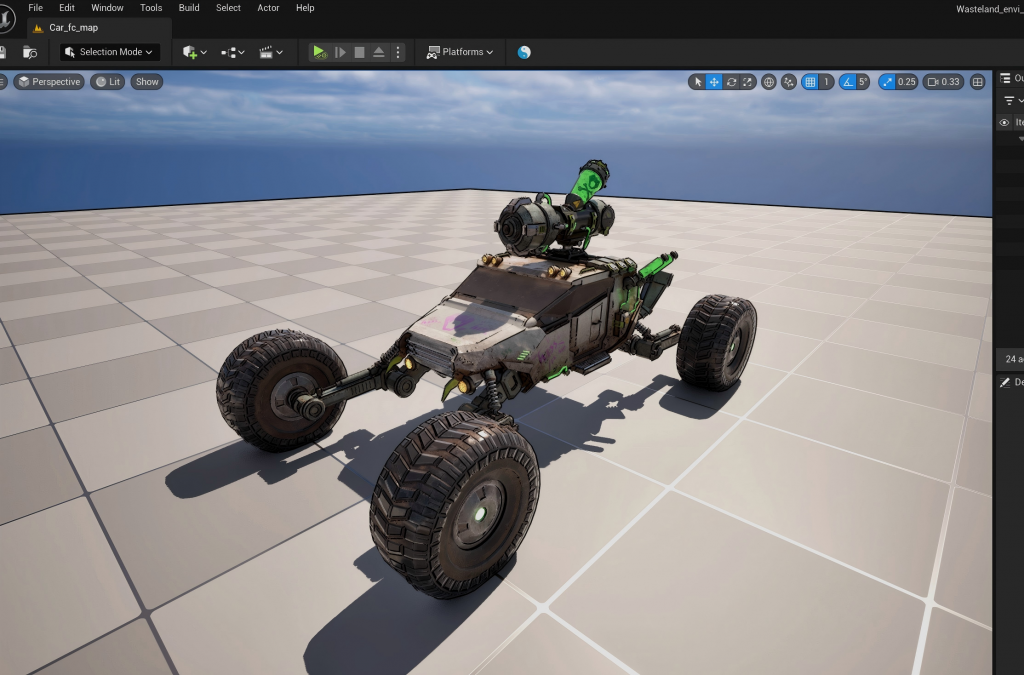
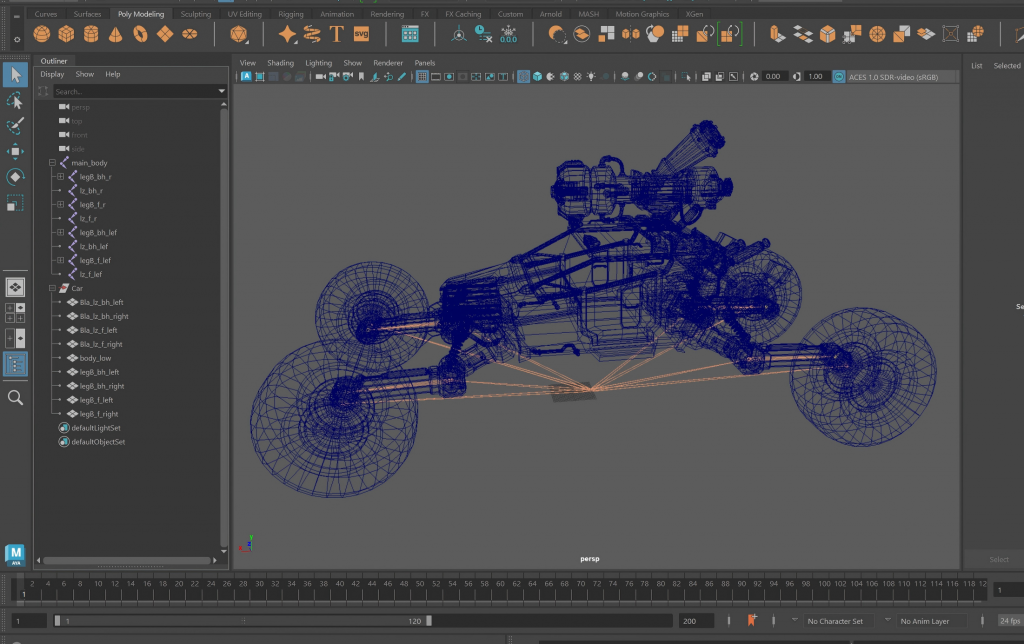
FinalProject_Riging
I used Maya to rig the car model with a skeleton so that the bones can control the entire vehicle, including the wheels and the mechanical arm.
Then I set up the vehicle suspension in Unreal Engine. First, it was necessary to enable the ChaosVehiclesPlugin, and then manually assign constraints and collision bodies.
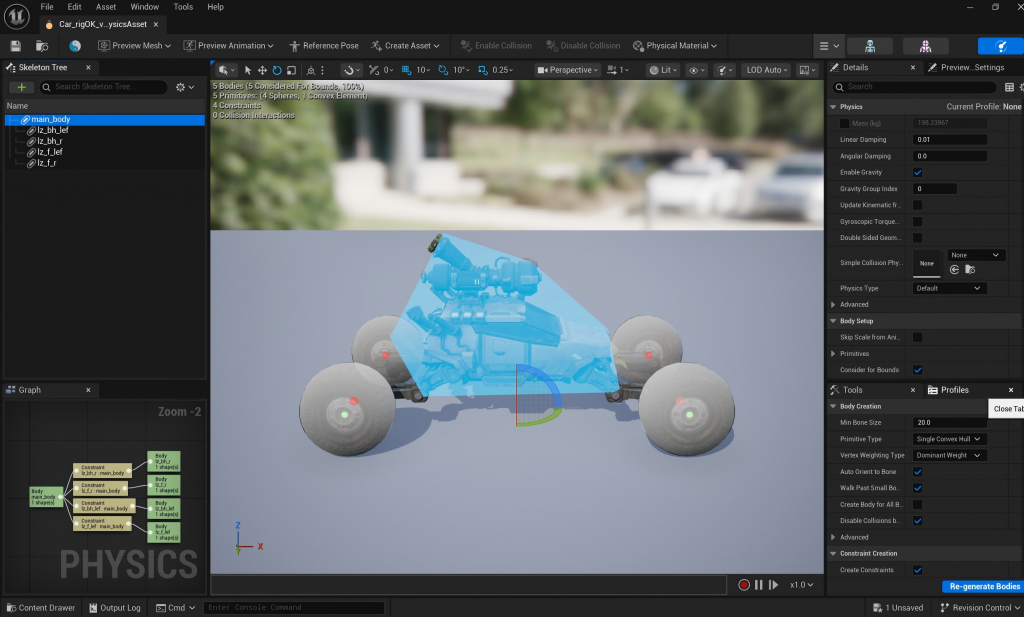
In the simulation, the movement of the car drives the rotation of the wheels.
-
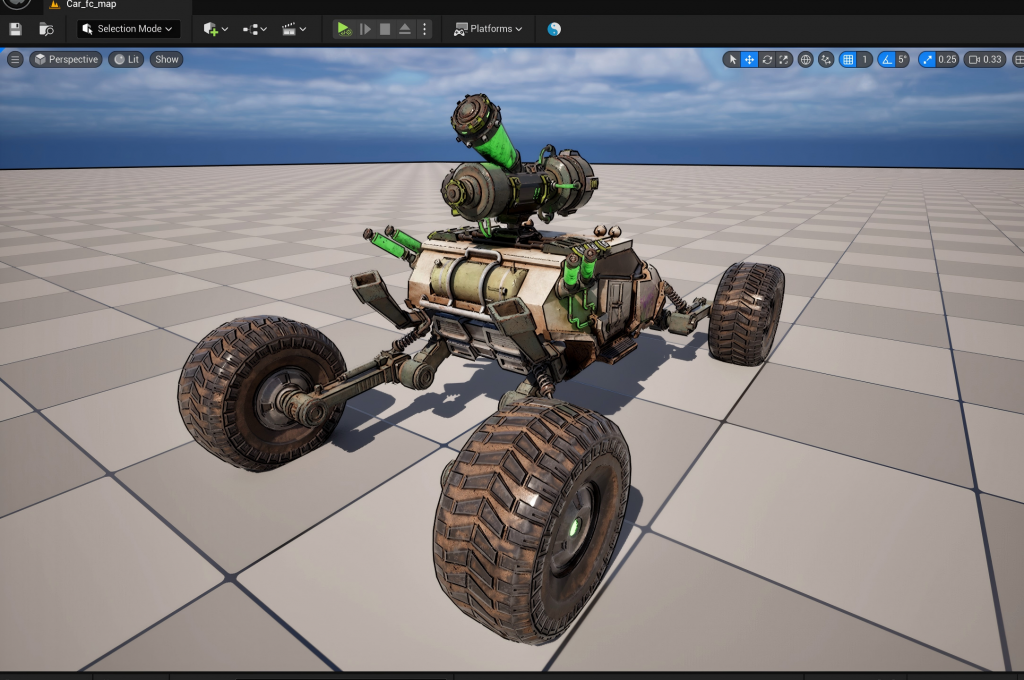
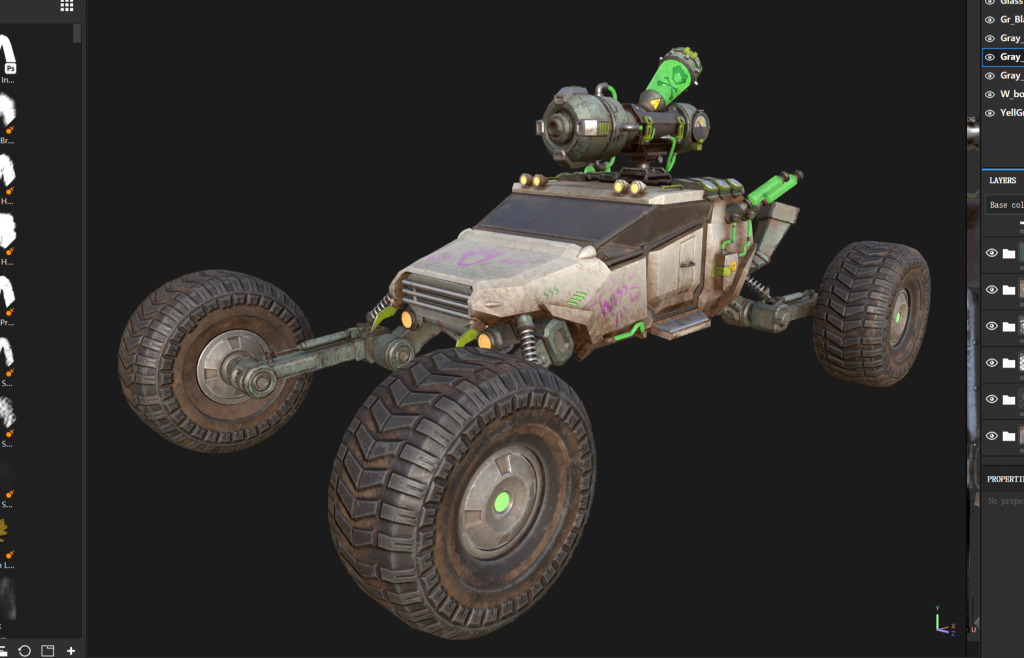
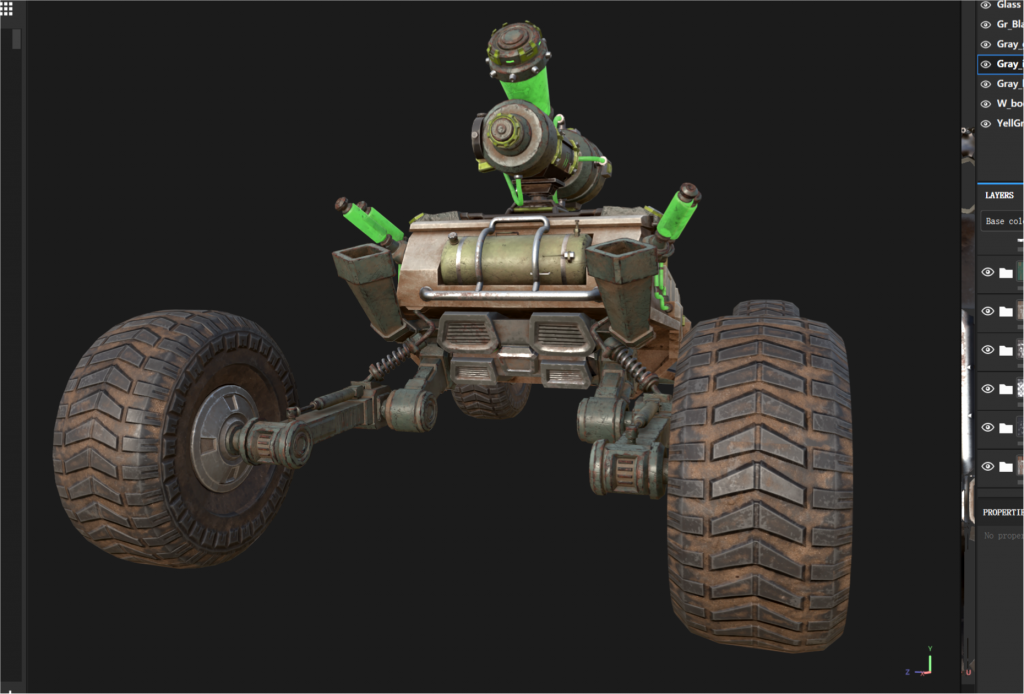
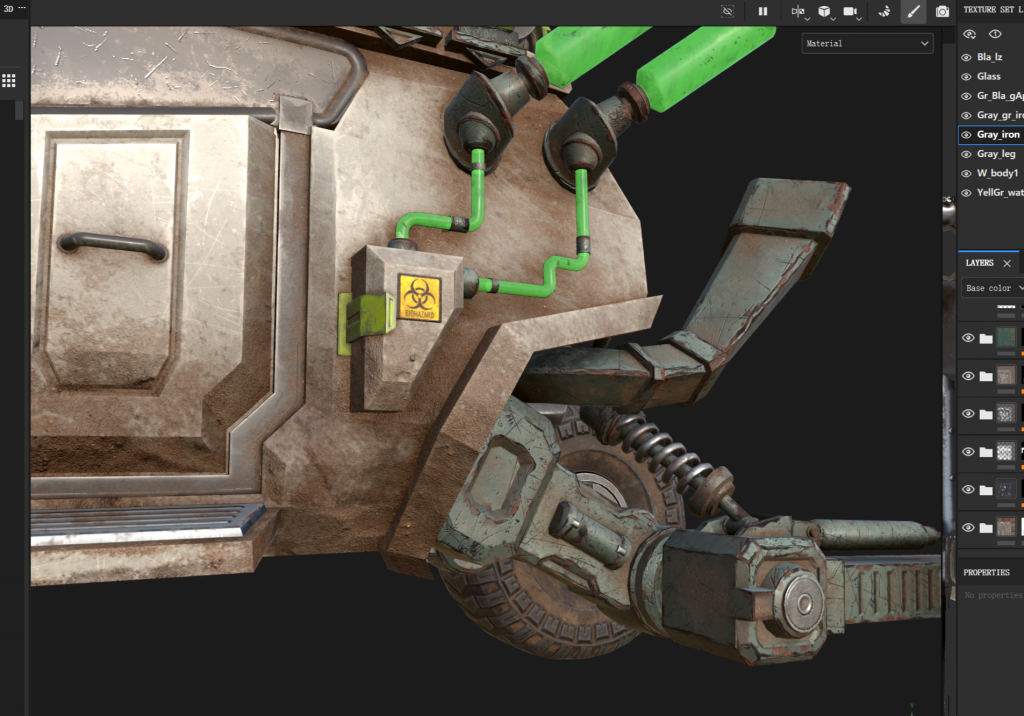
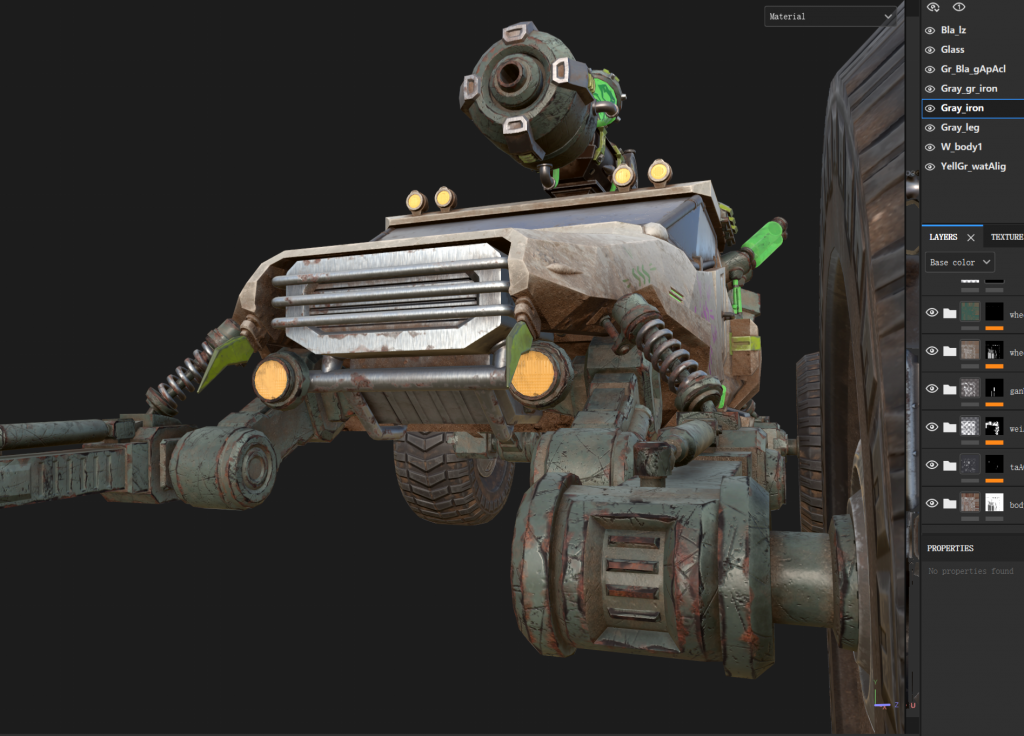
FinalProject_Texturing
1_Wasteland Venom Off-Road Vehicle
I projected the information from the high-poly model onto the low-poly model.
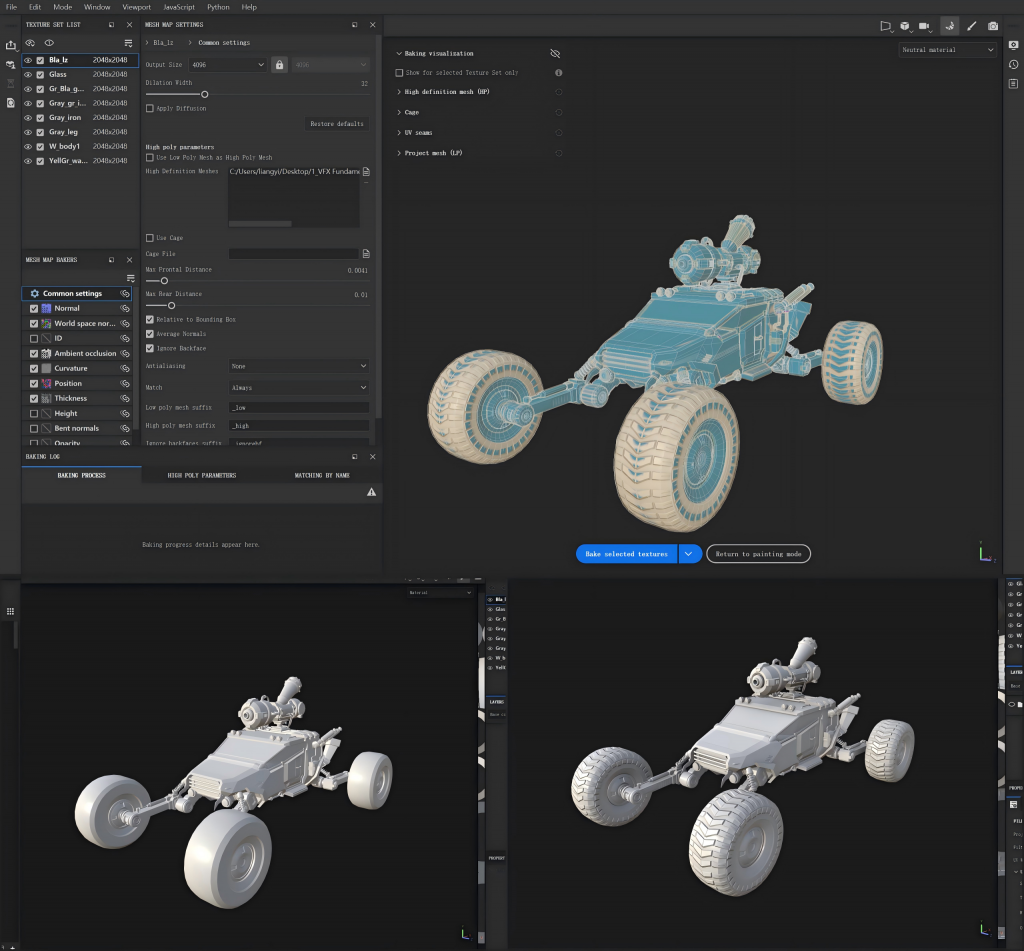
Based on this, I created the car’s materials.

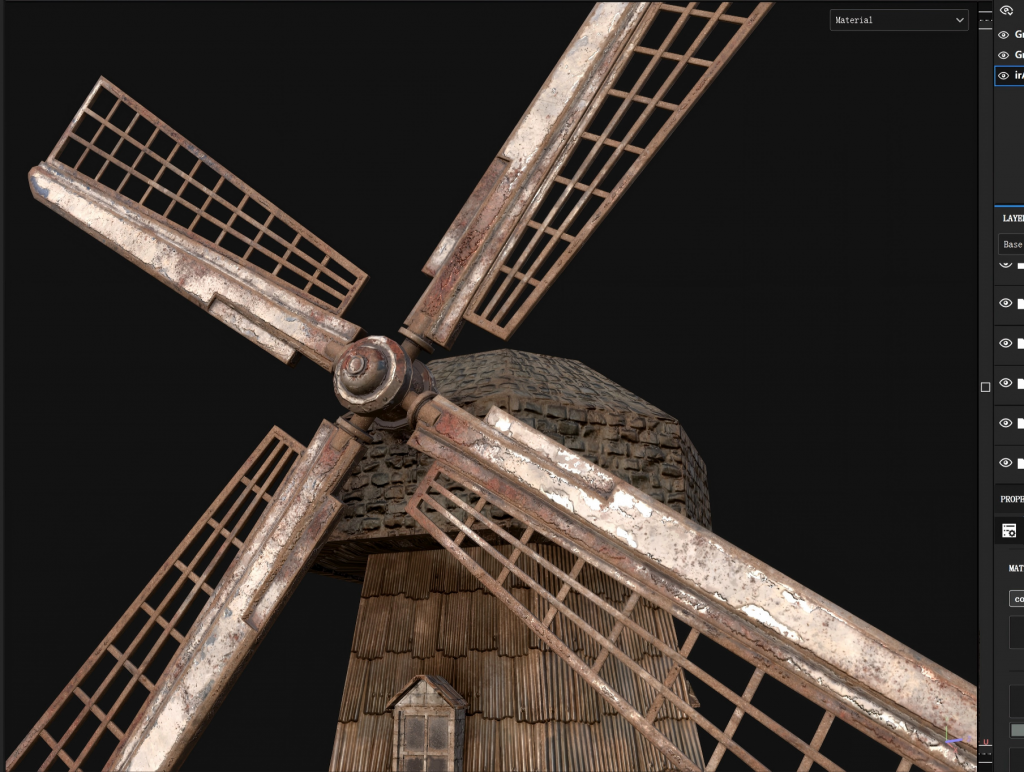
2_Wasteland Windmill
I also completed the windmill’s materials in Substance Painter.

-
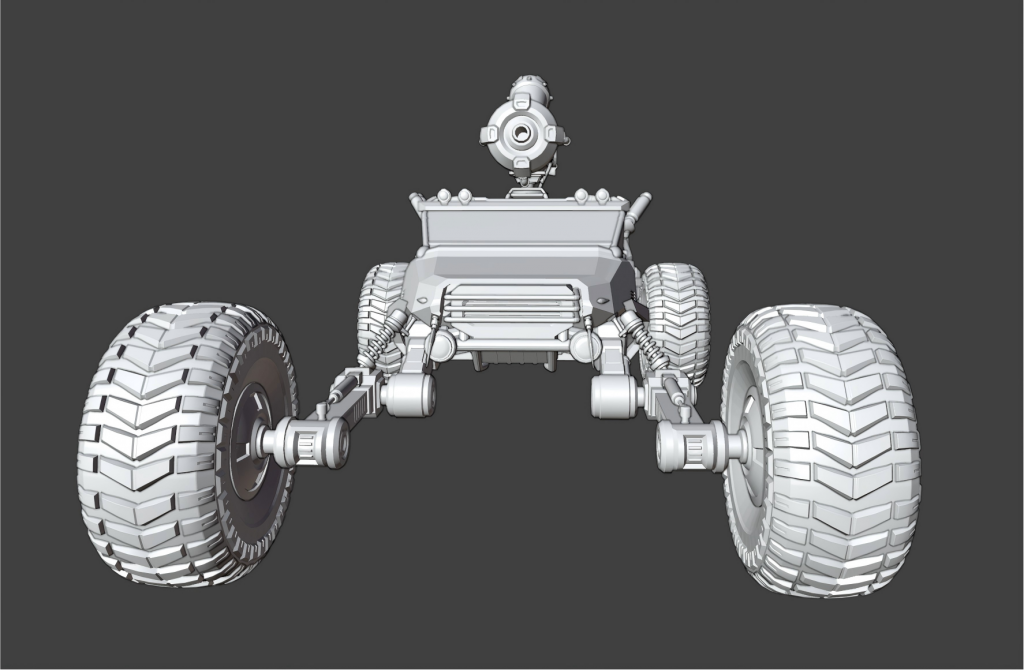
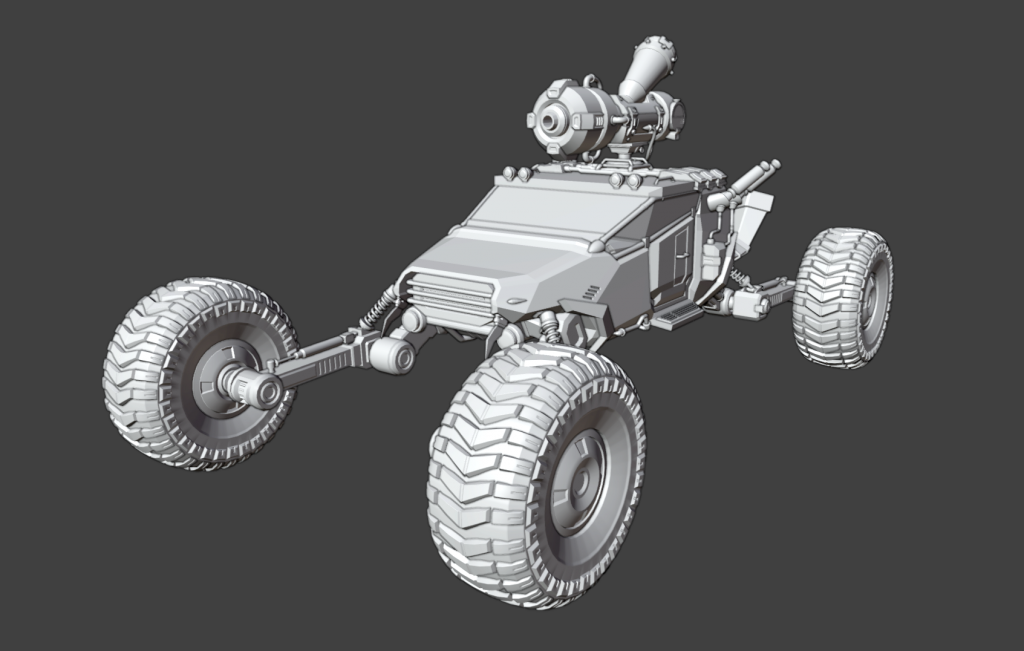
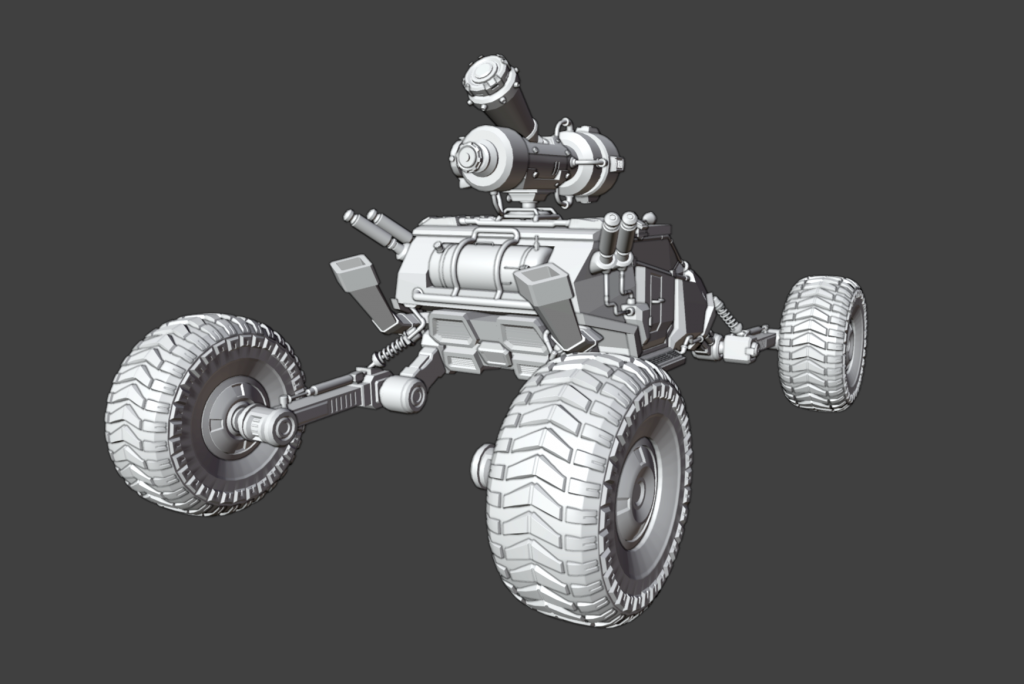
FinalProject_Modeling
My design model 1 _ Wasteland Venom Off-Road Vehicle
I added more details to the previous my car model and achieved the final result.
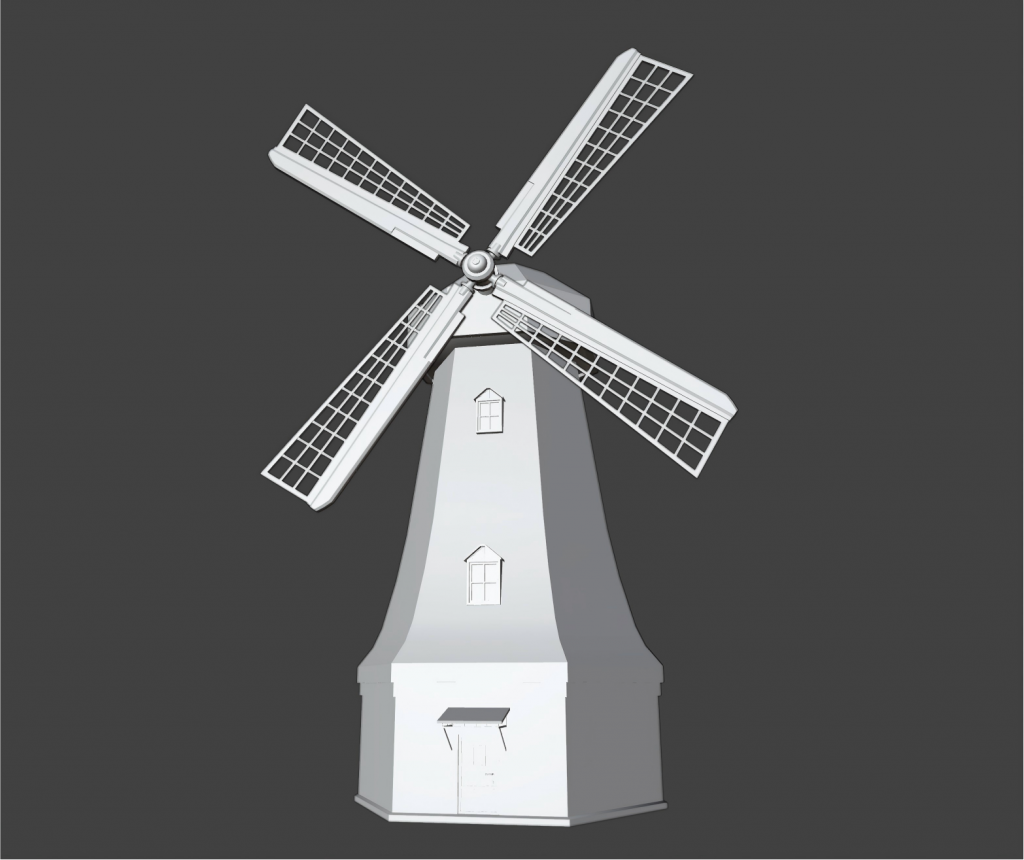
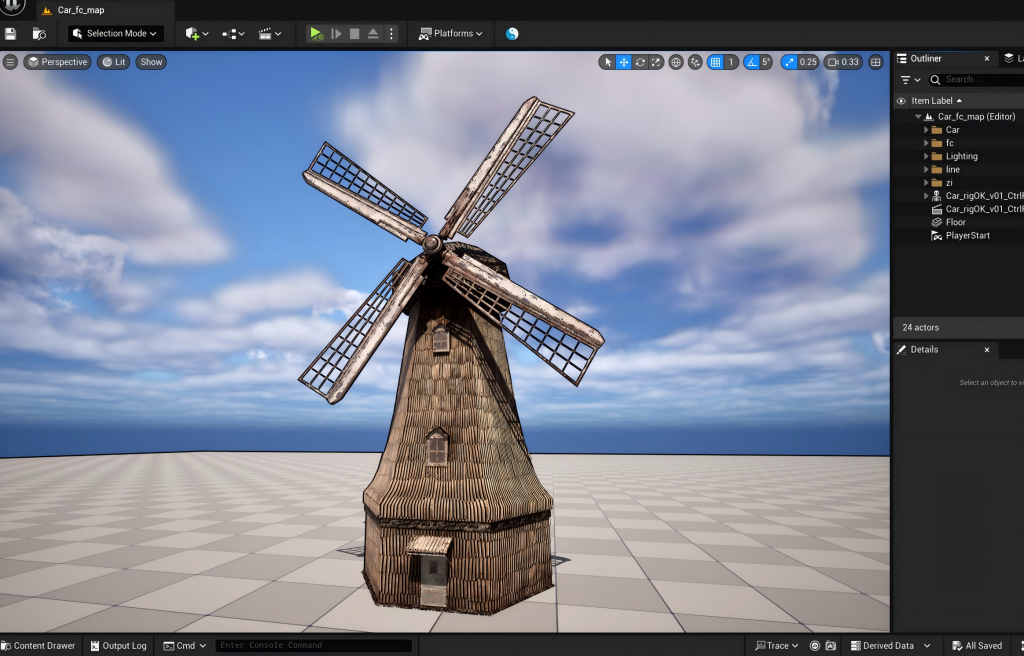
My design model 2_ Wasteland Windmill
I also completed the modeling of my self-designed windmill.