Blog

  • Week 11

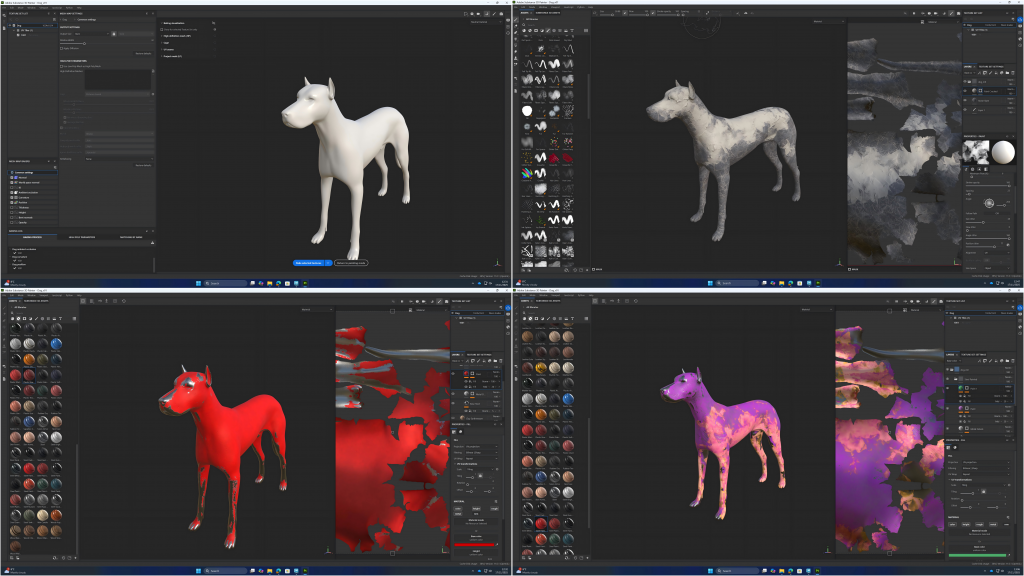
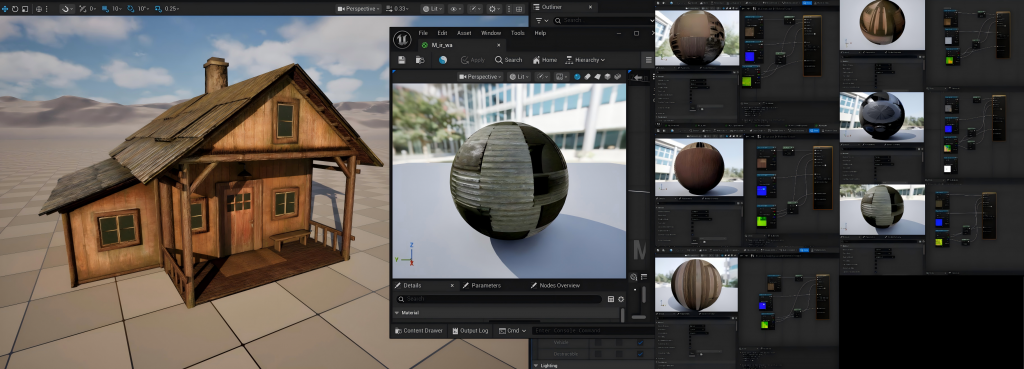
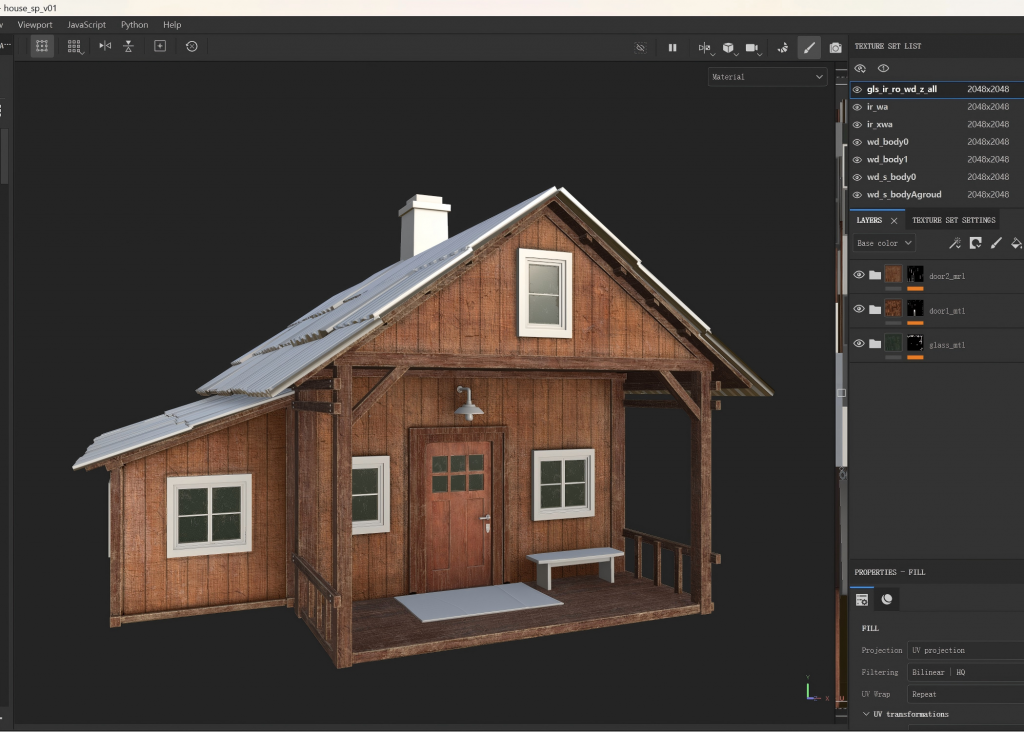
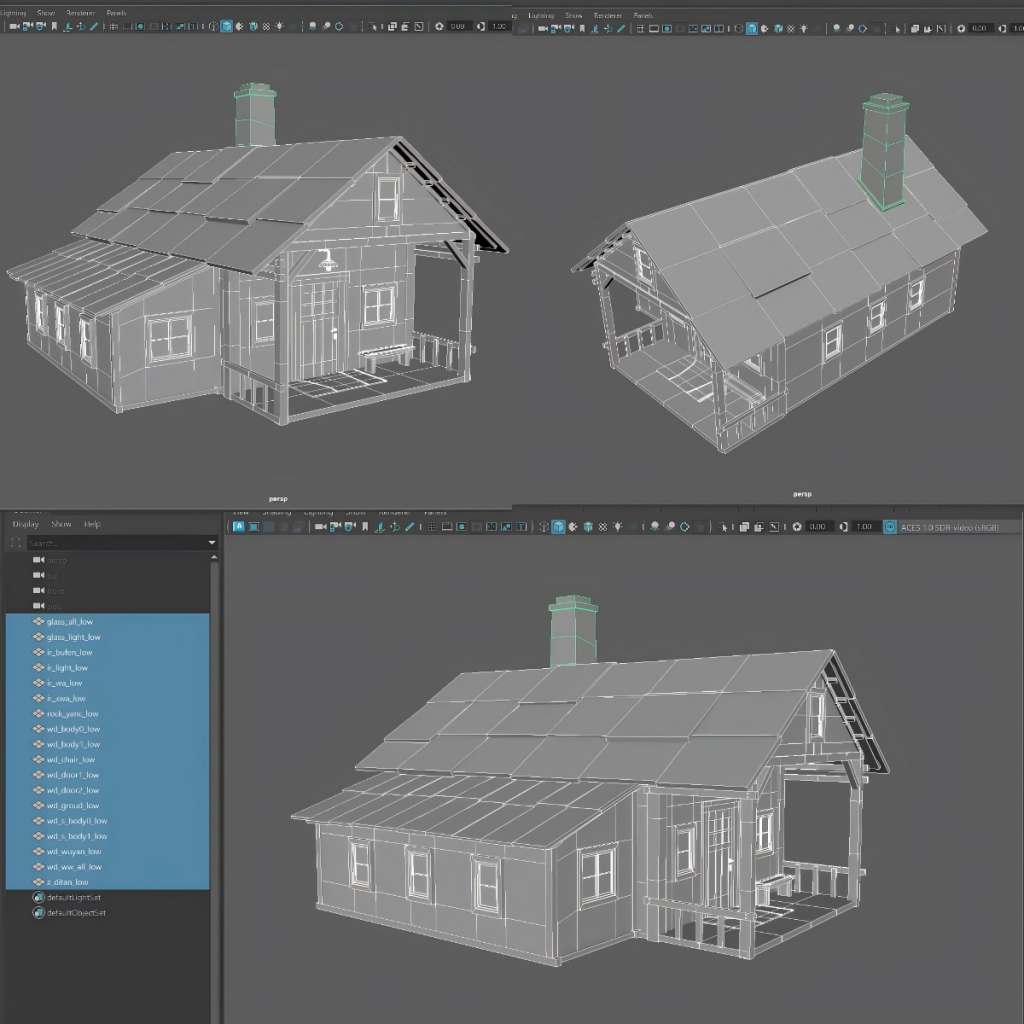
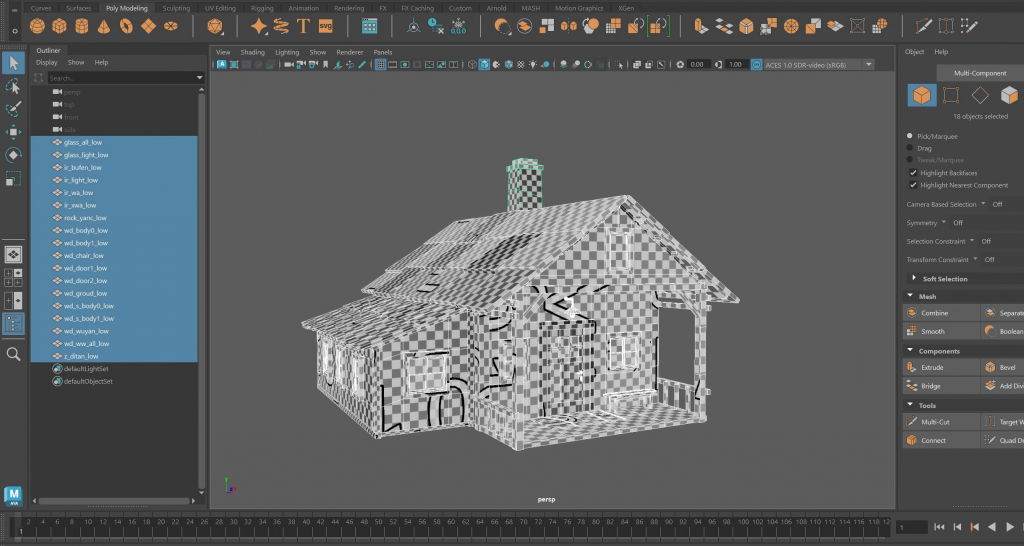
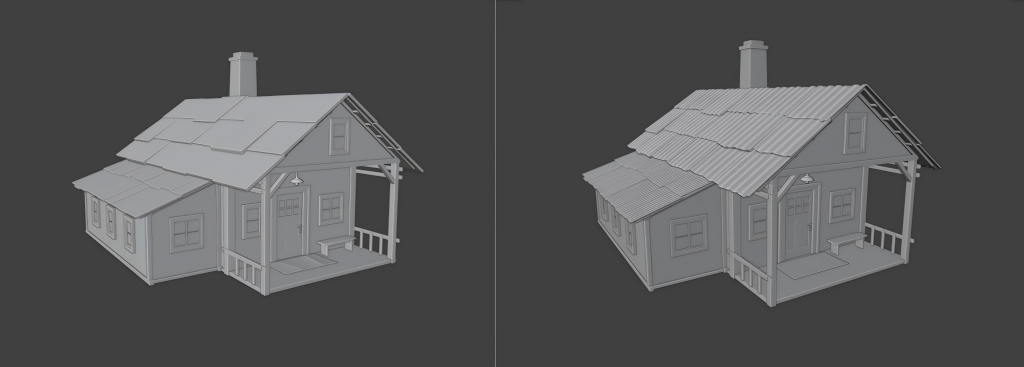
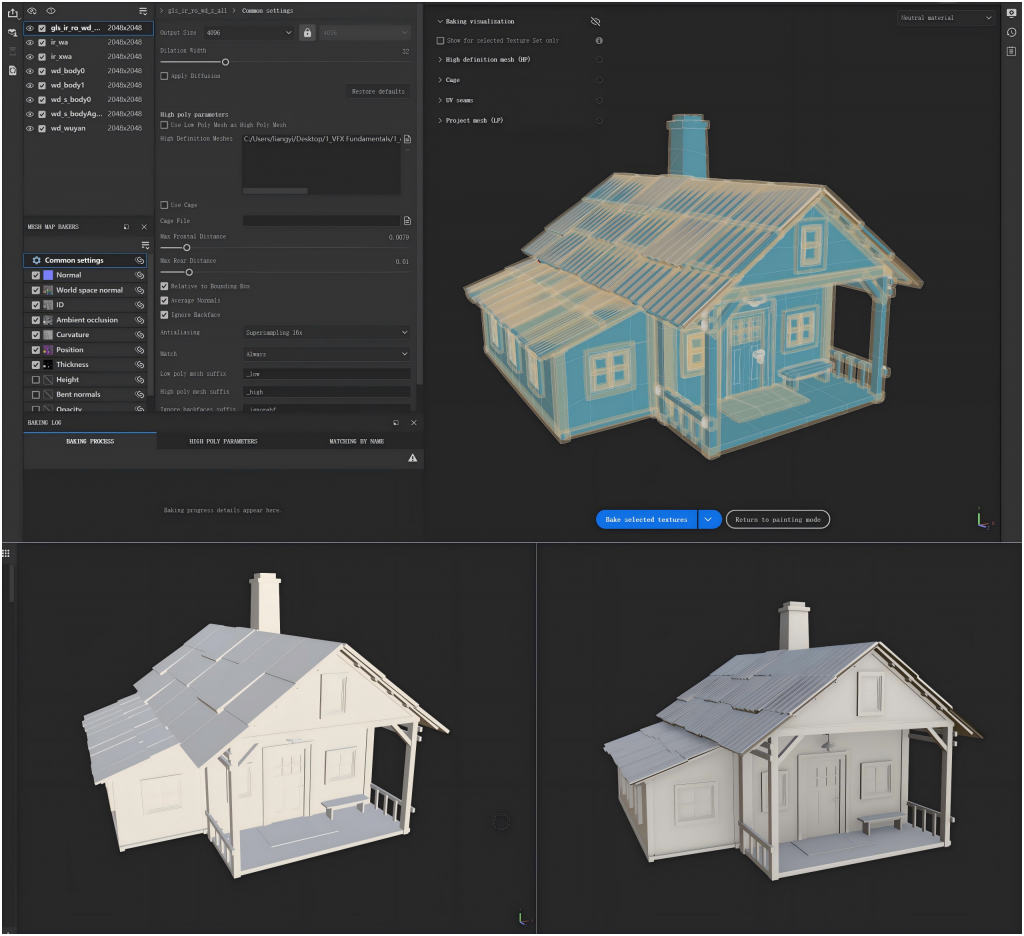
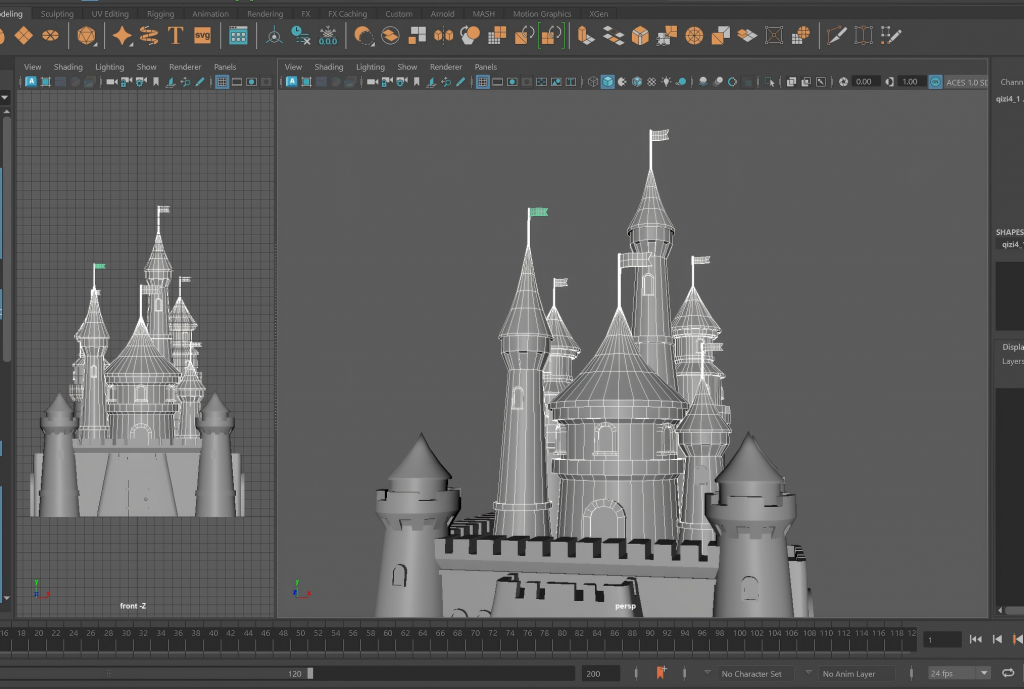
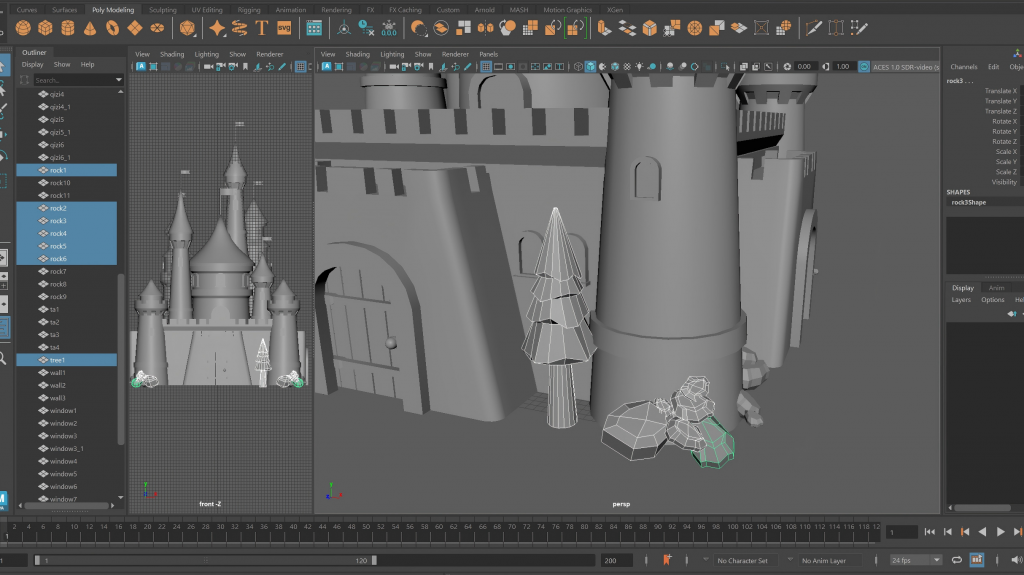
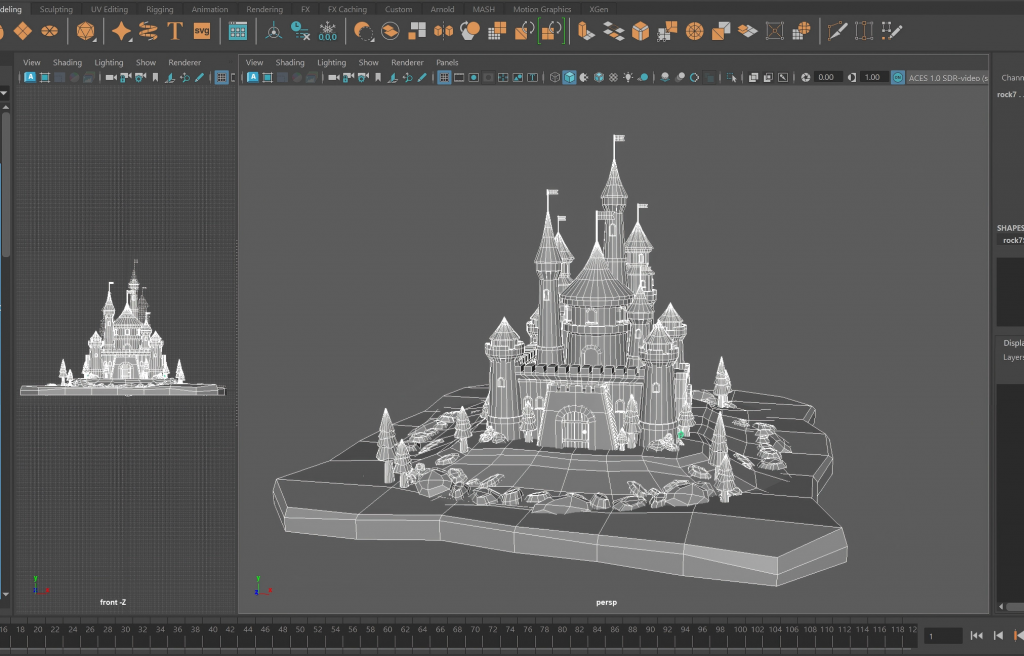
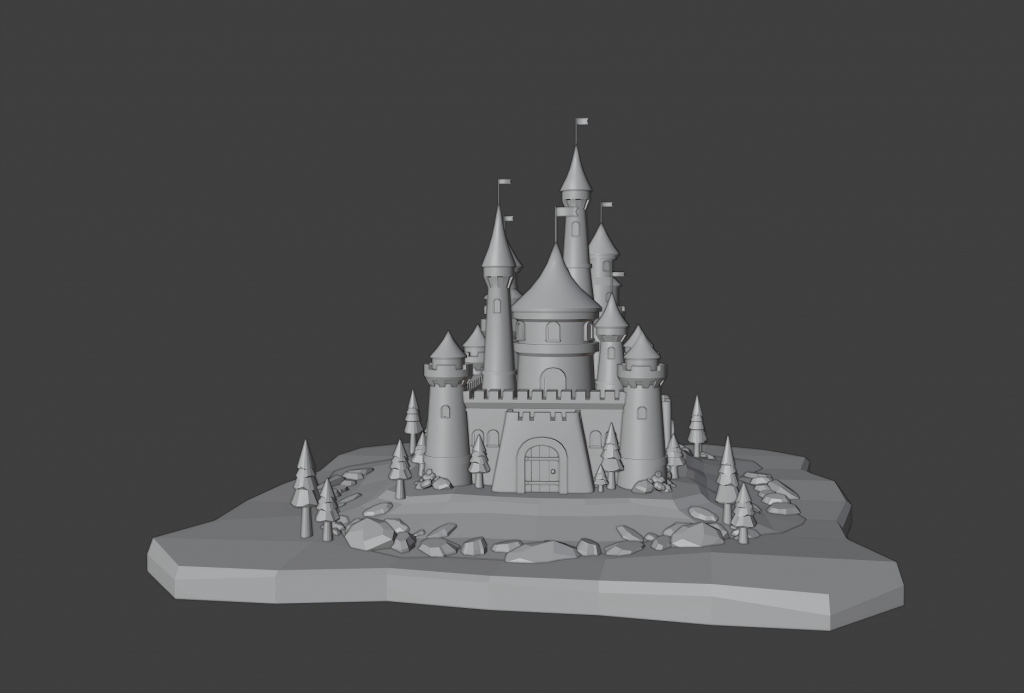
    Maya Materials and Rendering

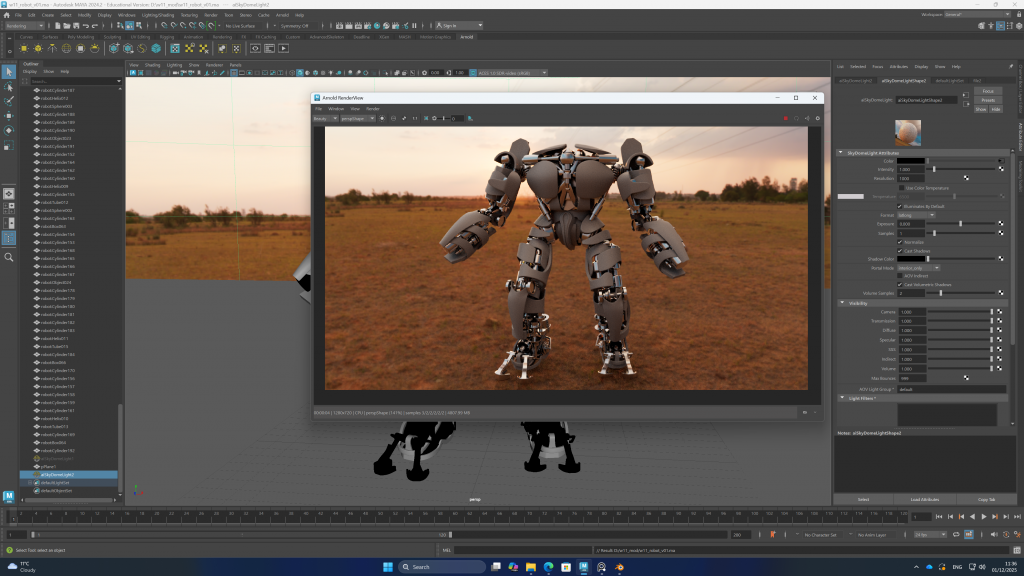
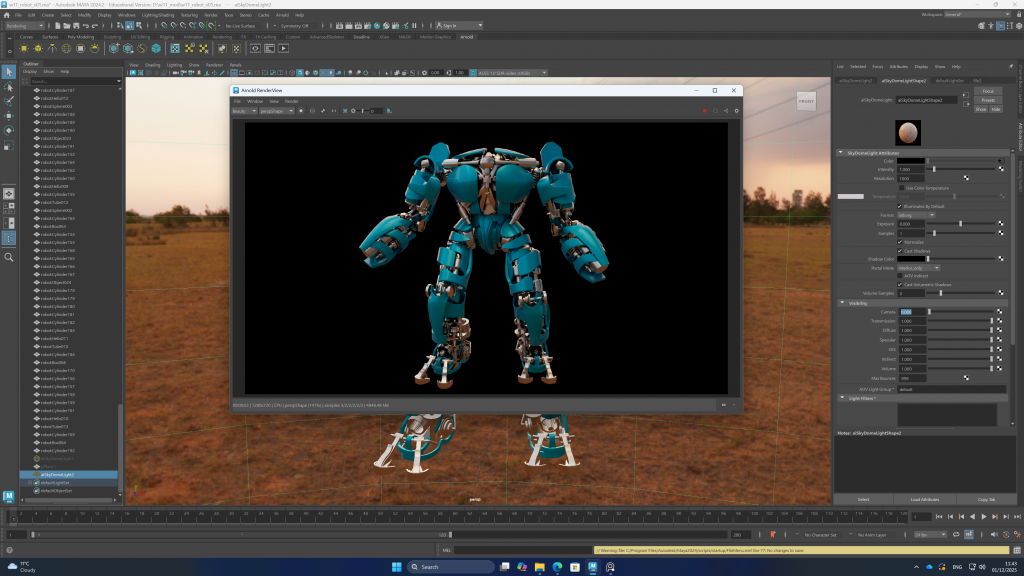
    I learned how to assign layers to a model and then apply different materials to each layer. In class, we mainly used the aiStandardSurface material. At the same time, we also learned how to add environmental lighting and a background, which is done by importing an HDRI image.

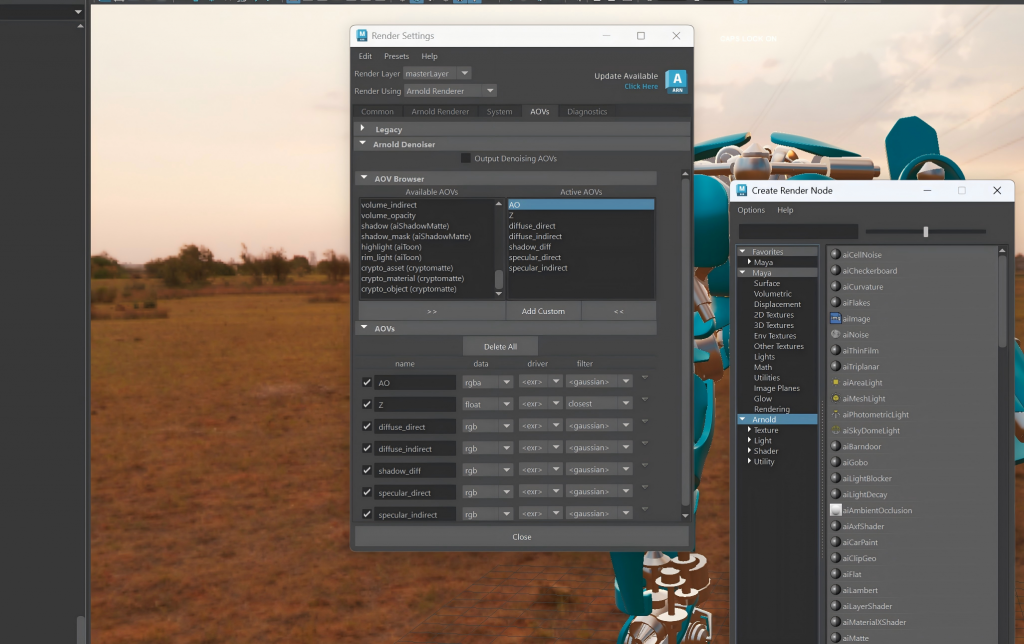
    In addition, I learned how to export layers and render them through the render settings in Maya.

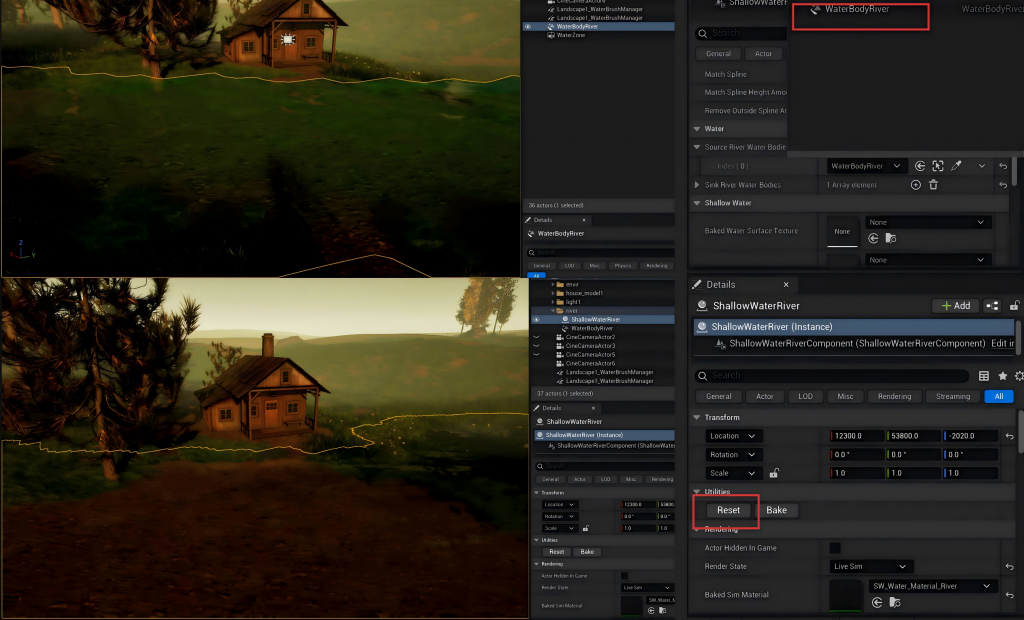
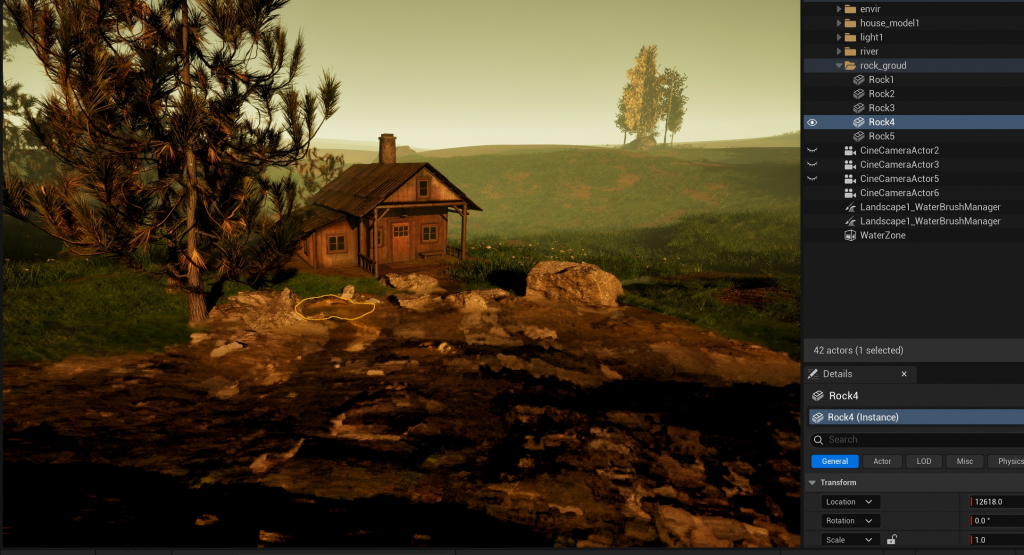
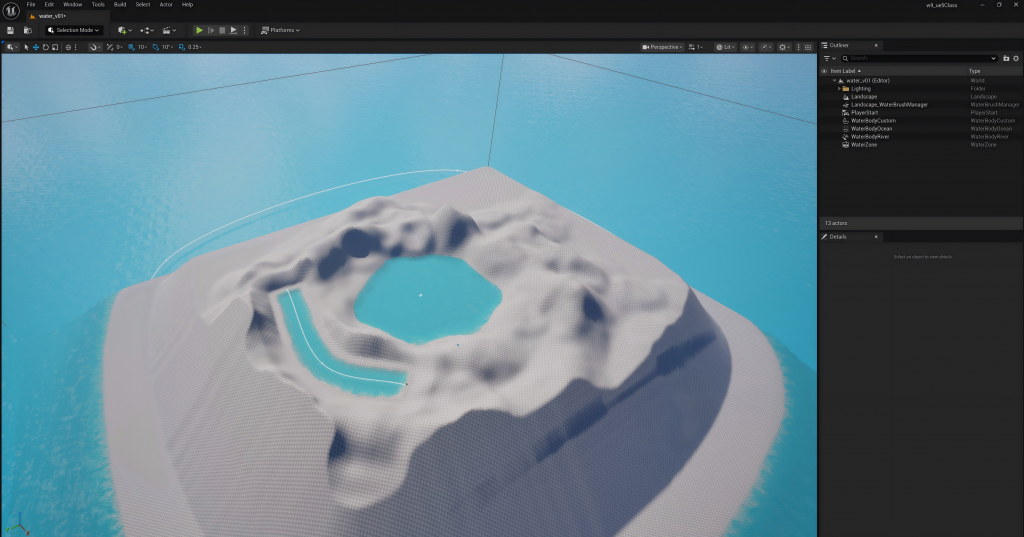
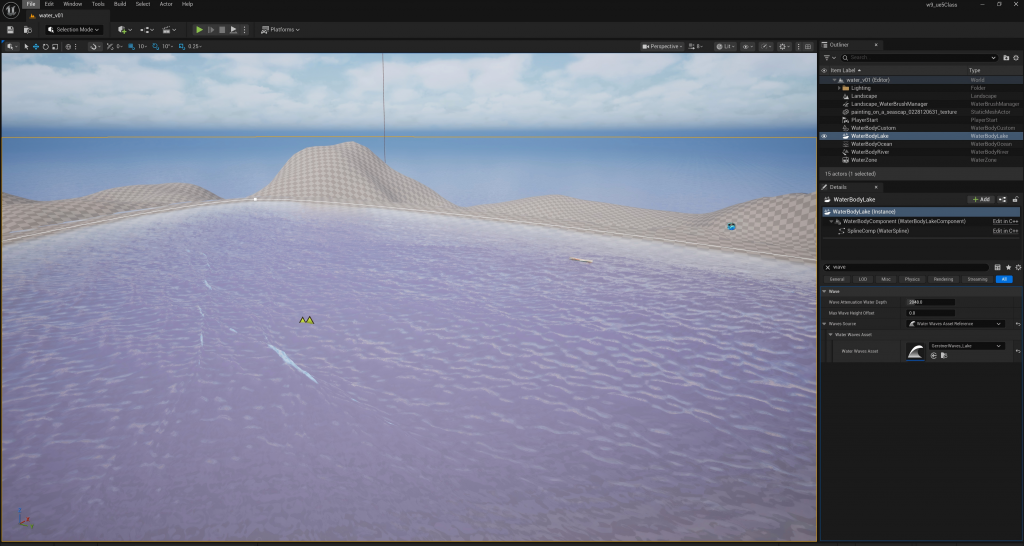
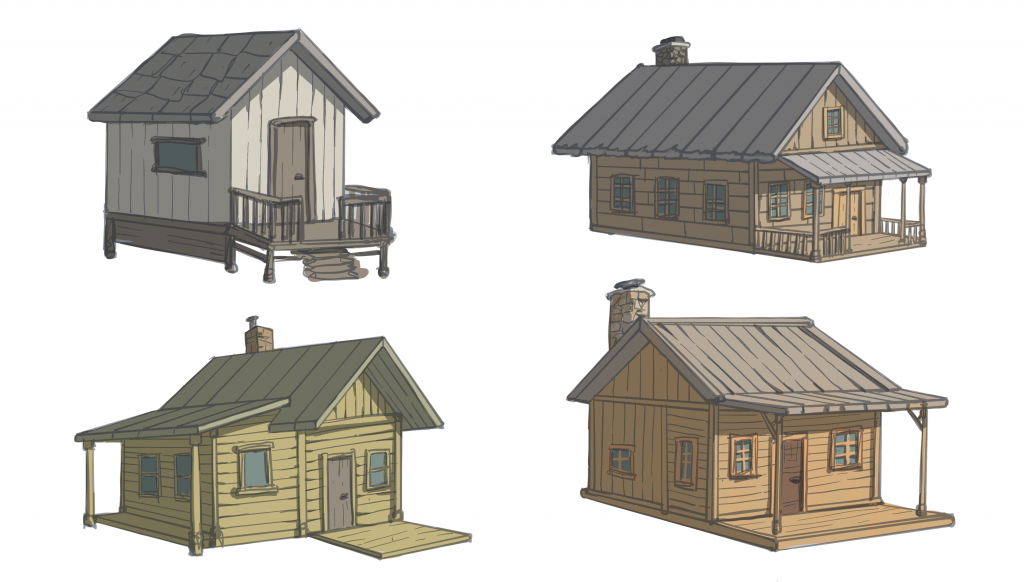
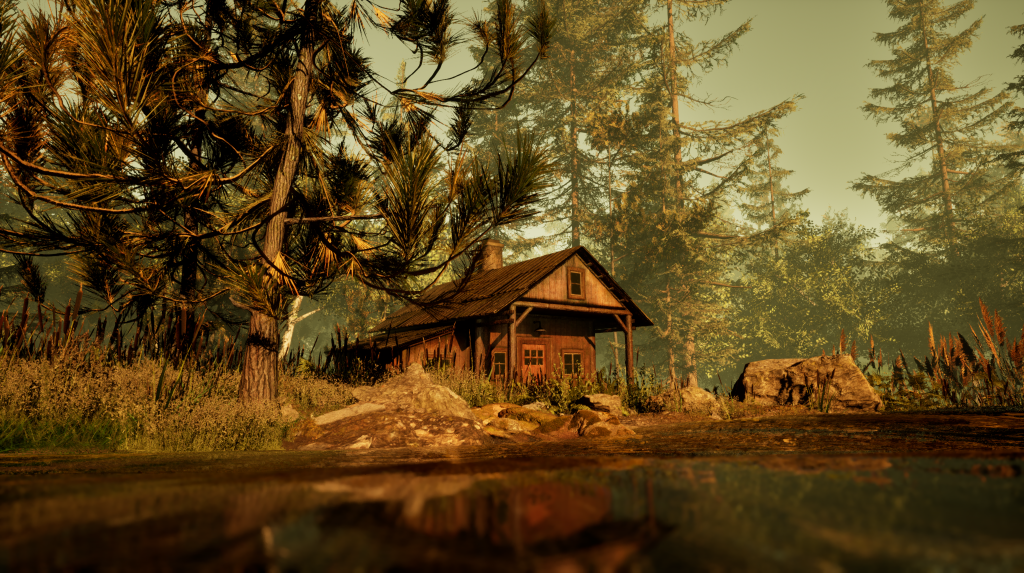
    Unreal Engine Cabin Scene

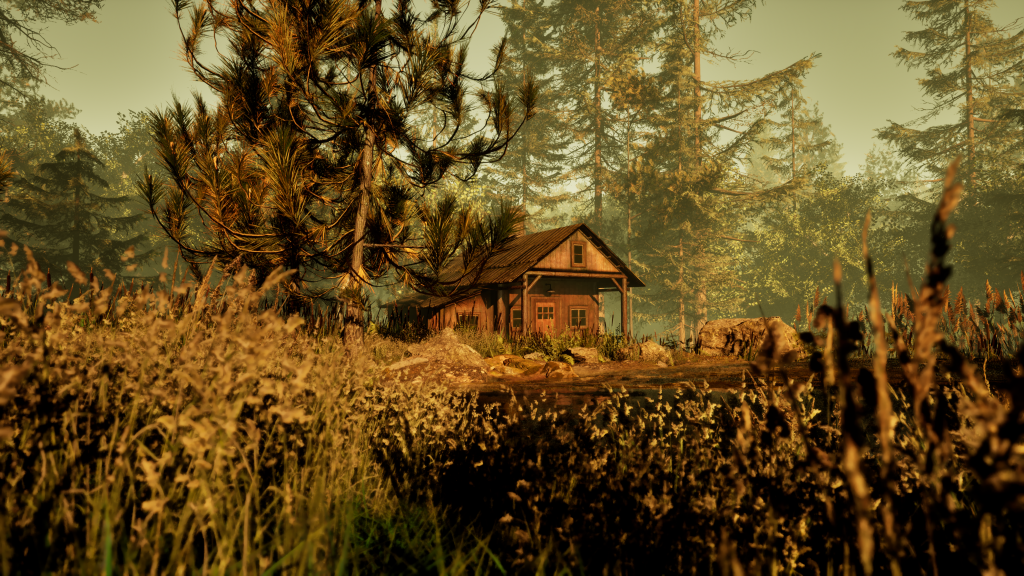
    I made the final adjustments to the cabin scene, adding more trees and grass, and refined the connection between the rocks and the river to make it more natural.
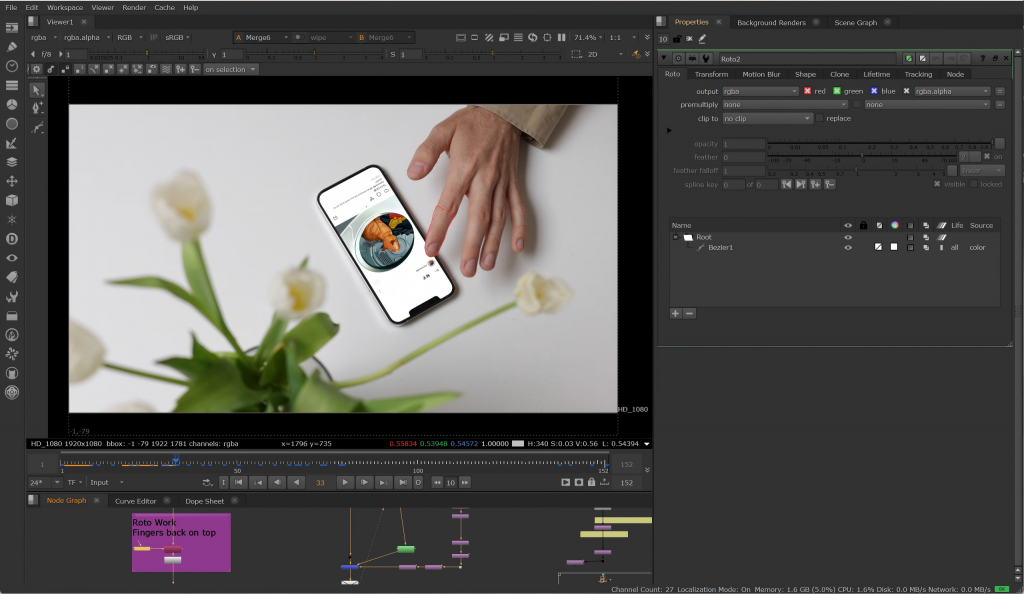
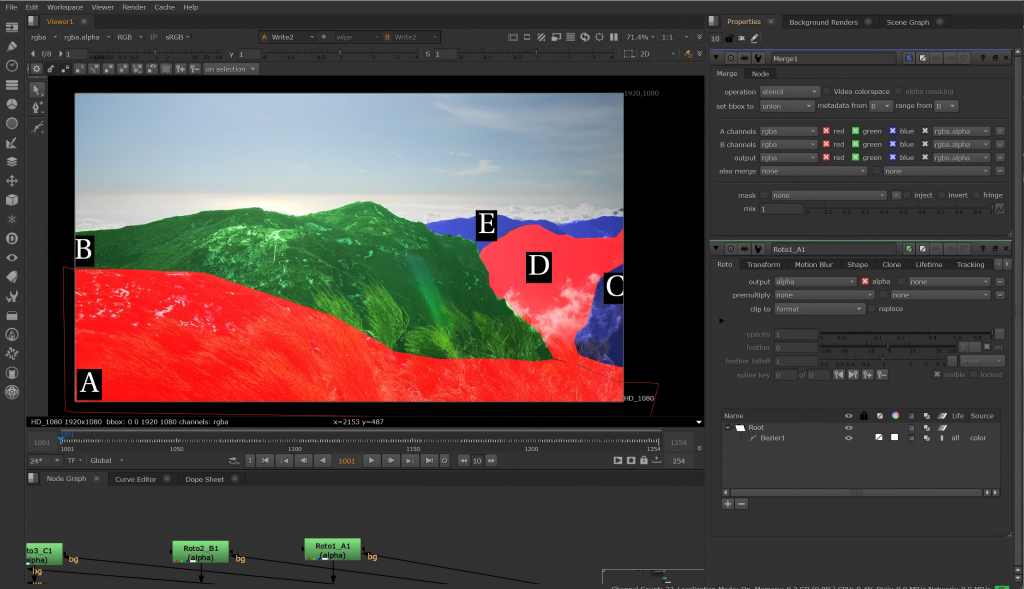
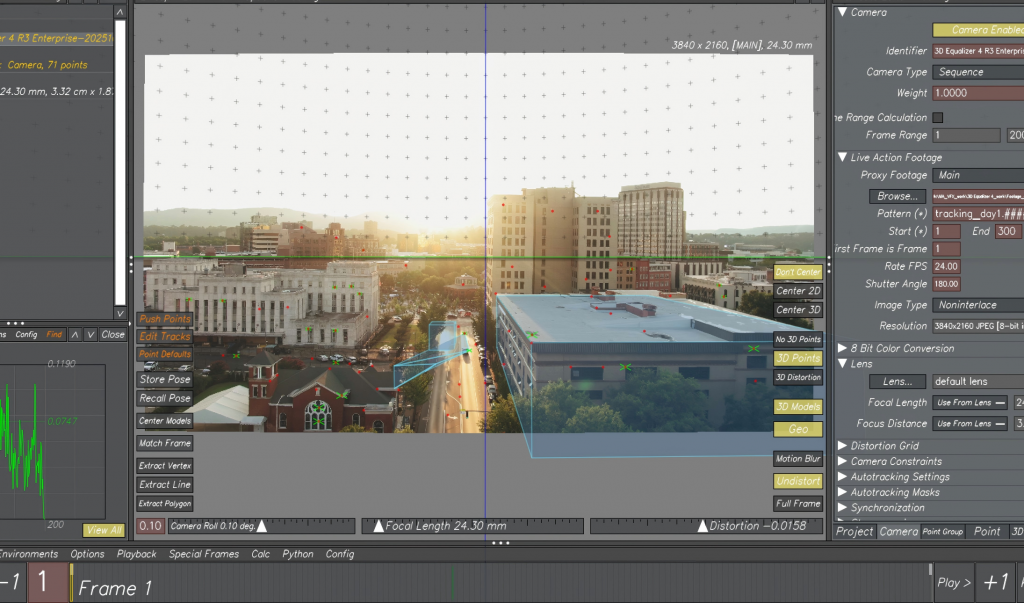
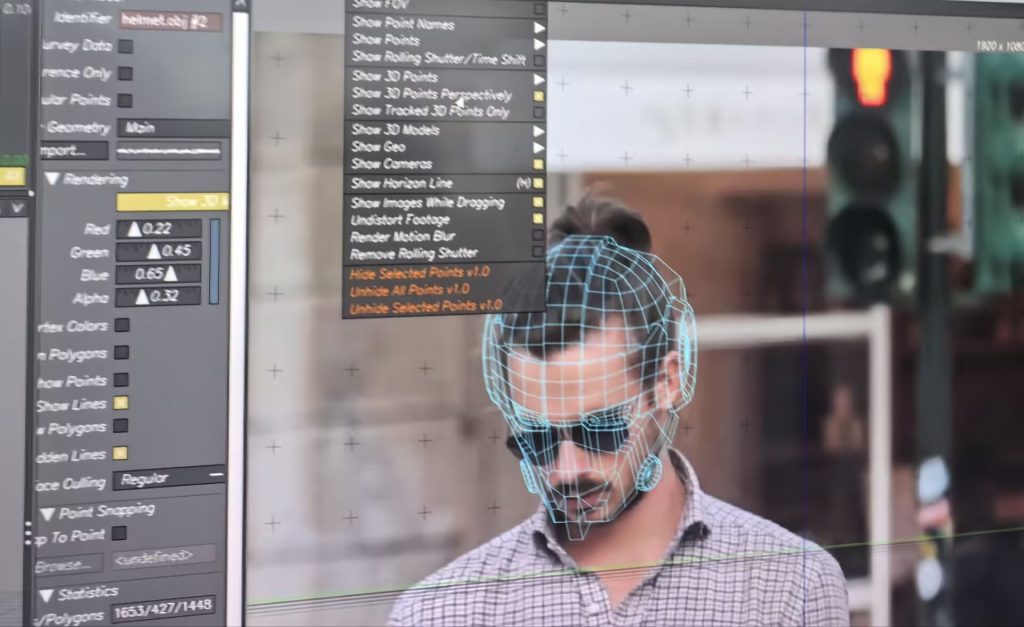
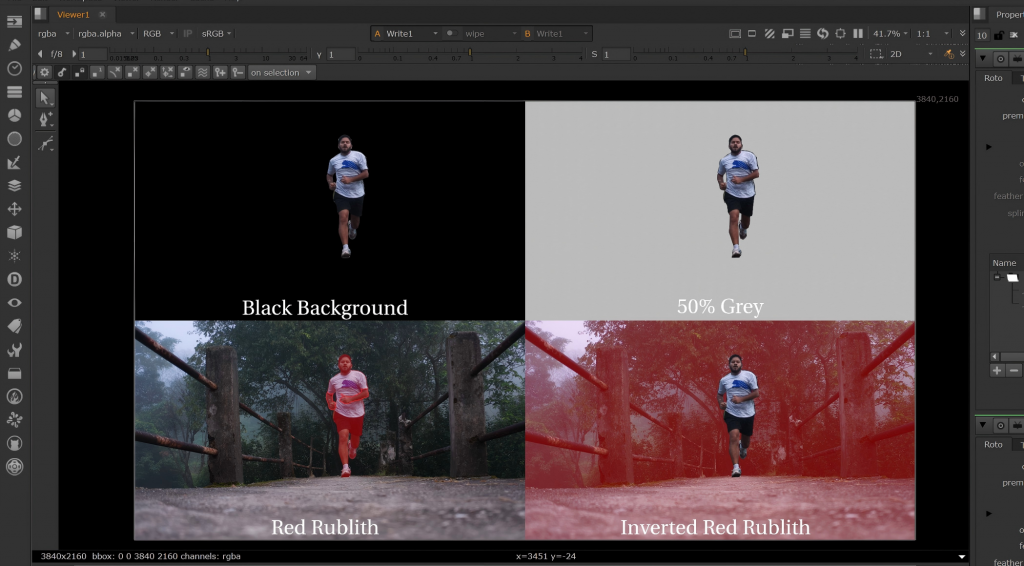
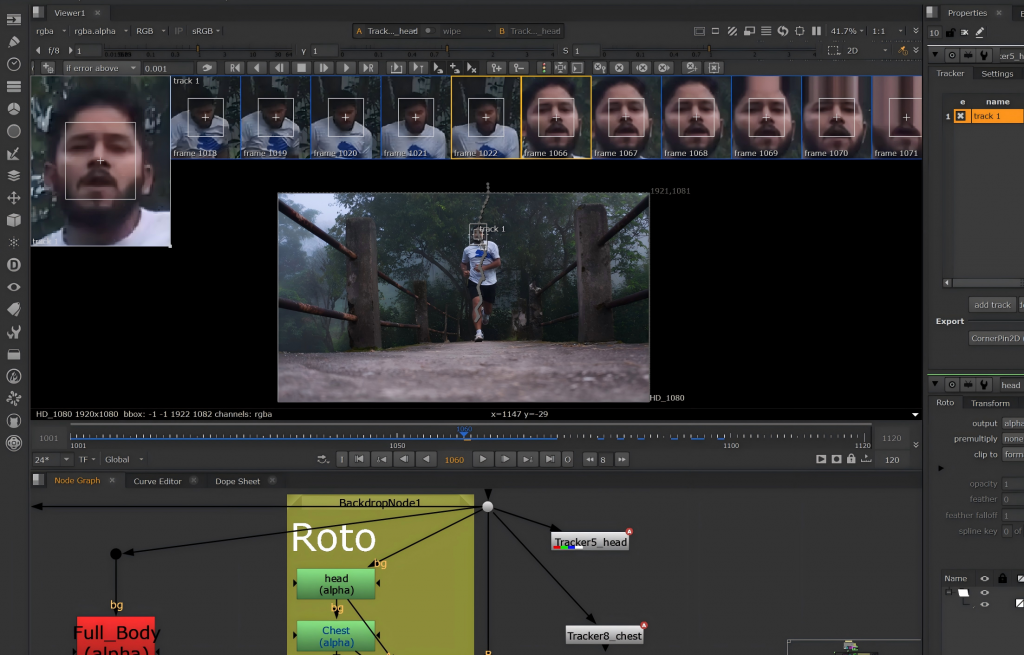
    Nuke

    I learned to use nodes such as Roto, Reformat, and CornerPin2D to complete a video task in which I composited scrolling Instagram images onto a keyed phone screen.

  • Week10

    Rigging class

    In this week’s lessons, we learned two methods for rigging character models.

    The course content also covered how to paint skin weights for a model, allowing it to rotate more naturally at the joints.

    In addition, I learned how to rig an animal model and used mirroring techniques to save time.

    Final Project Modeling – Initial Stage

    Based on my concept sketches for the off-road vehicle, I created an initial version of the model and attempted to divide it into sections in preparation for the rigging process.

    Balloon Festival_modeling

    “I used Pikachu from Pokémon as a reference and designed a Pikachu balloon, for which I created the model and materials.”

    UE5

    I did some simple scene construction, adding terrain, trees, and rocks. Then I worked on the lighting, adding sunlight and some ambient light, and made appropriate adjustments to the atmospheric fog.

    Nuke

    In this week’s class, I need to use Roto nodes to segment the mountains. This is in preparation for the upcoming compositing work.

  • Week9

    Modeling

    In this week’s classes, I learned how to retopologize a dog model, reducing the polygon count of a complex model while keeping it reasonable.

    I also learned about constructing the model and materials for a balloon.

    Meanwhile, in Substance 3D Painter, I learned some basic material-adjustment functions and practiced layering multiple materials.

    UE5 Water System

    In class, I learned some foundational knowledge about how to construct water bodies in UE5.

    In addition,I imported the finished my cabin materials and model into Unreal Engine to prepare for the upcoming scene.

  • 第8周

    Modeling

    In class, I learned how to sculpt a human skull from a sphere.

    Texture creation

    I have been adding moss textures to my house model to make it blend more naturally with the forest environment.

  • Week7

    3DEqualizer4

    Building on what we learned last week, we used the tracked points in the software to reconstruct 3D positions. Then we used simple geometric shapes to represent the locations of buildings and calculated the road plane so we could place geometry on top of it.

    After that, I also learned in class how to use points from a model to track and generate animation of a man’s facial movements in the video.

    Modeling

    I continued working on the house’s materials and hand-painted some signs of human use and natural erosion to add more detail. As of now, I’ve basically finished creating materials for wood, iron, glass, stone, and so on.

  • Week6

    3DEqualizer4

    In class, I used 3DEqualizer4 for the first time and gained a preliminary understanding of how to capture 3D coordinate positions on a planar image. At the same time, I also became initially familiar with some aspects of the software’s interface.

    Modeling and Material Creation

    Based on the model I had previously created, I tried to make wood materials and attempted to distinguish among three types of wood: for the wall, the frame, and the wooden door.

  • Week5

    Nuke

    In the Nuke course, I learned about the Roto node and created a moving mask for a running man. I practiced dividing the body into different parts for masking and then added animation to them using keyframes.

    In addition, I also experimented with the Tracker node, tracking the character’s nose to assist in creating a moving mask for the head.

    Modeling

    I completed the low-poly model of the cabin and laid out its UVs in an organized way. At the same time, I created a high-poly model with more detailed features to prepare for texture production.

    Model wireframe

    UV

    Low and High Model

    After that, I performed a baking test, projecting the high-poly details onto the low-poly model, so that I could achieve richer visual results with fewer polygons.

  • Week4

    Modeling

    This week in class, I learned the basic techniques of using ZBrush and made some simple attempts.

    Based on my sketch design of the forest cabin, I created an initial 3D model of the cabin. In the process, I used techniques such as mirroring, multiple cuts, and adding subdivisions to build the general structure of the cabin.

    My Pain Sketch Designs for the Final Project’s Main Objects

    Reference

    My Design Sketch 1 — Wasteland Venom Off-Road Vehicle

    My Design Sketch 2 — Wasteland Windmill

    With the completion of my sketch designs, I will proceed to model these two designs in the coming stages.

  • Week3

    Cabin in the Woods Pre-Production Presentation

    1. Mind Map

    I started by thinking about the functionality of the cabin and extended the concept into a church, a residential cabin, and a windmill cabin. My initial idea was an eerie church, which could also give me the opportunity to create some will-o’-the-wisp effects. Another option was a windmill cabin on a farm. However, I then remembered a movie I once watched, The Wolf and the Lion, in which the protagonist lives in a cozy little cabin in the forest. Inspired by that feeling, I decided to design and create a summer forest cabin that conveys a similar warm and peaceful atmosphere.

    2. Mood Board

    In terms of lighting and shadow, I want the morning sunlight to shine through the leaves and fall onto the cabin, creating a natural and tranquil atmosphere. For the color balance, I plan to focus on yellow-green tones to emphasize the feeling of being in a forest environment.

    3. Structural and Material References

    4. Sketch design of the cabin

  • Week 2

    Modeling Course

    In the introductory modeling course, I learned to use Maya to create a snowman. After making its body with two spheres, I also created its hands, hat, and buttons.

    Homework

    The homework assignment was to build a castle in a simple style. First, I created a basic tower and walls.

    Then, I modeled the gate and the main building.

    To enrich the overall design, I added other buildings of different heights around it, placing small flags on top of them.

    Finally, I wanted to create some simple environment models around the castle, so I modeled rocks and trees.

    Using the trees and rocks I had built, I arranged and combined them in a simple way to form a small castle scene.